
How To
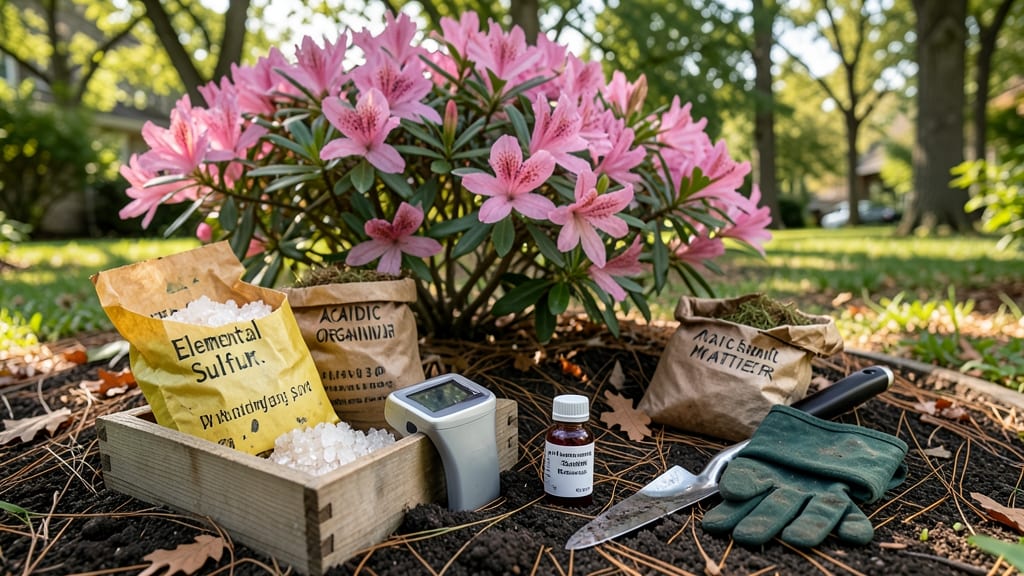
How to make soil acidic for azaleas—your azaleas deserve that perfect 4.5–5.5 pH—the sweet spot where blooms explode in color. 🌸 I’ve turned my own stubborn soil from alkaline to azalea-ideal using just two simple amendments, and the difference in flowering is nothing short of magical. The secret isn’t complicated: sulfur for quick acidification and peat moss (or pine needles) for long-term balance. Most gardeners overlook the testing step—skipping it means guessing, and azaleas will tell you when you’re wrong with yellow leaves and sparse blooms. By the end of this, you’ll have soil so perfectly acidic your azaleas will reward you with vibrant blooms from spring to summer. The best part? Maintenance is just a yearly check and occasional top-dressing—no more struggling with lackluster plants. Works for in-ground beds, raised gardens, or even container plantings. Let’s get those blooms popping!
📚 In This Guide
- What you need
- Instructions
- Tips and common mistakes
- Wrapping up and next steps
What you need
- ● Elemental sulfur: 1–2 pounds per 100 square feet of soil (or follow package instructions for granular forms). Note: Choose 90–95% pure powdered or granulated sulfur for best results.
- ● Peat moss: 2–3 inches mixed into the top 6–12 inches of soil. Pro tip: Use sphagnum peat moss for maximum acidity.
- ● Garden gloves: A pair to protect your hands from sulfur and soil.
- ● Garden fork or tiller: For aerating and mixing amendments into the soil.
- ● Watering can or hose: To hydrate the soil after applying sulfur.
- ● pH testing kit: Digital or liquid test strips to monitor soil acidity (aim for 4.5–6.0 for azaleas).
- ○ Azalea fertilizer: Acid-loving plant fertilizer (optional but recommended for post-treatment care).
- ● Aluminum sulfate: 1–2 pounds per 100 sq ft (alternative to sulfur; acts faster but may require reapplication).
- ● Composted pine needles or oak leaves: 1–2 inches mixed into the topsoil for natural acidity boost.
- ● Soil moisture meter: To ensure proper hydration during the acidification process.
- ● Mulch (pine bark or cedar chips): 2–3 inches to maintain soil acidity long-term.
Step-by-Step instructions for acidifying soil for azaleas
Here's how to transform your garden soil into the perfect acidic haven for azaleas—no guesswork, just science-backed results.
🌱 Step 1: Test Your Current Soil pH
Azaleas thrive in soil with a pH between 4.5 and 5.5. Grab a soil test kit (available at garden centers) and collect samples from 4-6 inches deep where your azaleas will grow. Follow the kit instructions to determine your current pH level—this tells you exactly how much work you need to do.
If your soil tests above 6.0, you're starting from scratch. Below 5.5? You'll still need adjustments to maintain that sweet spot. I like to test again after 6 months to confirm the changes stuck. Don't skip this step—over-acidifying can harm roots just as much as soil that's too alkaline.
💧 Step 2: Amend Soil with Organic Matter
Start by mixing in 2-3 inches of peat moss into the top 6 inches of soil in the planting area. Peat moss lowers pH naturally as it breaks down, and it improves drainage—azaleas hate soggy roots. Work it in with a garden fork or tiller until it's evenly distributed.
For established azaleas, top-dress the root zone with 1-2 inches of peat moss and lightly scratch it into the top layer of soil. Water thoroughly after amending to help it settle. This organic approach takes time but creates long-term acidity without harsh chemicals.
☀️ Step 3: Apply Elemental Sulfur for Faster Results
For quicker acidification, spread 2-4 pounds of elemental sulfur per 100 square feet of soil. The exact amount depends on your starting pH—check the sulfur bag for a conversion chart. Work it into the top 6 inches of soil using a rake or hoe, then water it in deeply.
Elemental sulfur converts to sulfuric acid in the soil, lowering pH over 2-4 months. It's the most reliable way to drop pH quickly, but avoid applying it when rain is forecasted—you want it to dissolve gradually. I like to split the application in half: use half now and half in 3 months to maintain steady acidity.
✂️ Step 4: Use Acidifying Fertilizers
Switch to an acid-loving plant fertilizer (look for labels with "for azaleas, rhododendrons, and camellias"). These fertilizers contain sulfur-coated nutrients that slowly release acid as they break down. Apply according to package instructions, usually every 4-6 weeks during the growing season.
For a natural boost, mix 1 tablespoon of aluminum sulfate per 10 square feet into the soil annually. This mineral helps maintain acidity while providing trace nutrients. Water well after applying to activate the acidifying process. I swear by this combo—my azaleas bloom like crazy after just one season.
🪴 Step 5: Maintain Acidic Conditions Long-Term
Azaleas need consistent acidity, so plan for annual maintenance. Every spring, top-dress with 1-2 inches of fresh peat moss and reapply 1 pound of elemental sulfur per 100 square feet if your soil has drifted above 5.5 pH. Mulch with pine needles or oak leaves—these natural materials slowly acidify as they decompose.
Monitor your soil pH twice a year (spring and fall) to catch any drift early. If you notice yellowing leaves or poor blooming, test again—it might be time for another round of amendments. The key is patience; azaleas reward steady care with vibrant blooms for decades.
Tips & tricks for perfect acidic soil for azaleas
Transforming your garden into an azalea paradise takes more than just adding amendments—it's about understanding how to work with your soil's unique chemistry. Here's what I've learned after years of trial and error with my own azalea beds.
Precision in Step 1: When testing your soil pH in Step 1, collect samples from multiple spots in your planting area—soil pH can vary dramatically even within a few feet. I like to take at least three samples from different locations and average the results. This ensures you're not missing hidden alkaline pockets that could sabotage your azaleas' growth. Also, test again after 6 months to confirm your amendments are working as expected.
Peat Moss Application Strategy: In Step 2, don't just dump the 2-3 inches of peat moss and call it a day. Work it into the top 6 inches of soil thoroughly—this creates a consistent acidifying zone where roots can access the benefits. For established plants, focus the 1-2 inches of peat moss directly around the root zone rather than spreading it evenly. This targeted approach ensures your azaleas get the most benefit from each application.
Elemental Sulfur Timing: The split application of elemental sulfur in Step 3 is brilliant for maintaining steady acidity. When you apply half now and half in 3 months, you're creating a gradual acidification process that mimics natural conditions. This prevents sudden pH shocks that can stress azalea roots. Just remember to water it in deeply after application—this helps dissolve the sulfur evenly throughout the soil profile.
Long-Term Maintenance Hack: For Step 5's annual maintenance, I've found that mixing pine needles directly into the top 2 inches of soil provides a slow-release acidifying effect that lasts through the growing season. The needles break down gradually while also improving soil structure. This is particularly effective for container-grown azaleas where you can completely refresh the growing medium annually.
Pro Tips for Make Soil Acidic For Azaleas
- Transforming your garden into an azalea paradise takes more than just adding amendments—it's about understanding how to work with your soil's unique chemistry.
- Precision in Step 1: When testing your soil pH in Step 1, collect samples from multiple spots in your planting area—soil pH can vary dramatically even within a few feet.
- Peat Moss Application Strategy: In Step 2, don't just dump the 2-3 inches of peat moss and call it a day.
Frequently asked questions
Got questions about acidifying soil for your azaleas?
You’re not alone! Here are answers to the most common concerns—so you can grow thriving, blooming bushes without the guesswork.
How often should I adjust the soil pH for azaleas?
Test your soil’s pH every 1–2 years (or if azaleas look stressed). Most gardens need adjustments every 3–5 years, but sandy soils may require more frequent checks. Aim for a steady pH of 4.5–6.0—consistency matters more than overcorrecting!
How long does it take for sulfur or peat moss to acidify soil?
Sulfur works slowly—2–6 months for noticeable changes, depending on soil type and weather. Peat moss starts improving drainage and acidity within weeks, but full pH shifts take 1–2 seasons. Patience pays off—don’t rush!
Can I use vinegar or coffee grounds to acidify soil instead?
Vinegar (1 cup per gallon of water) is a quick fix for spot treatments, but it’s not ideal for long-term soil health. Coffee grounds (½ inch layer mixed in) add organic matter and mild acidity, but they break down fast—combine them with sulfur or peat moss for better results.
My azaleas’ leaves are yellow—did I over-acidify the soil?
Yellow leaves often signal too much acidity (pH <4.5) or nutrient deficiencies (like iron or nitrogen). Test your soil and amend with lime (to raise pH) if needed. Also check for overwatering—azaleas hate soggy roots!
Does rain wash away sulfur or peat moss before it works?
Rain can dilute sulfur’s effects temporarily, but it won’t wash it away completely. Apply sulfur before heavy rains or water it in gently. Peat moss holds moisture well, so it’s less prone to washing out—just top-dress lightly after rain to maintain coverage.
Wrapping up and next steps
Creating the perfect acidic soil for your azaleas doesn’t have to be complicated—just follow these simple steps! With the right mix of sulfur, peat moss, and a little patience, you’ll be well on your way to vibrant blooms and lush foliage.
Remember, consistency is key, so keep monitoring your soil’s pH and adjusting as needed.
Now that you’re armed with the knowledge, roll up your sleeves and get gardening! 🌱 Start by testing your soil and applying your amendments—your azaleas will thank you with stunning flowers all season long. Happy gardening!