
Fertilization
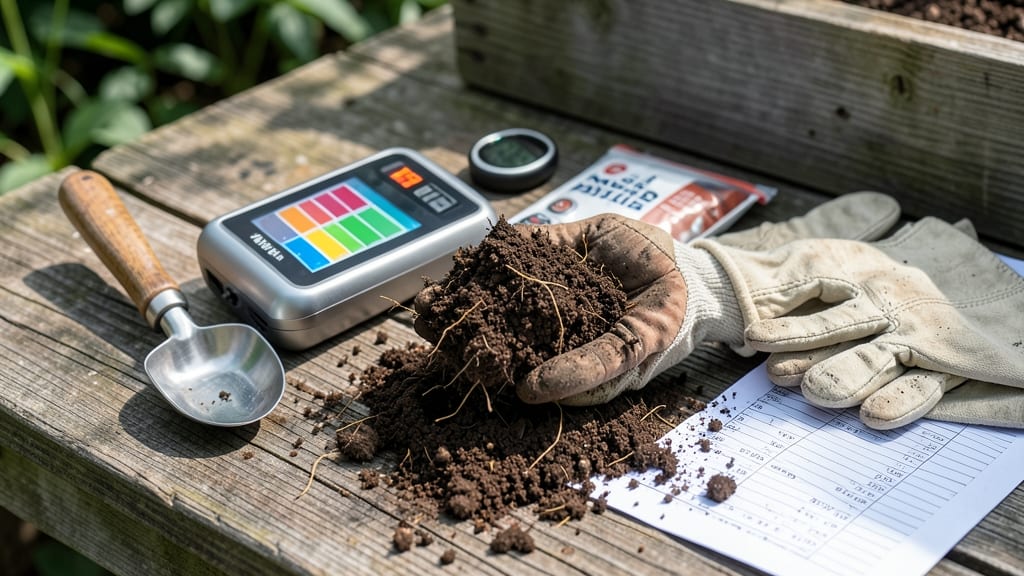
Testing your soil’s NPK levels reveals whether your garden has the right nutrients to thrive 🌱 — and skipping this step is like planting seeds in a guessing game.
Ever poured time and effort into your garden, only to watch plants wilt or struggle despite your best care? The answer might lie in an NPK soil test, which measures nitrogen, phosphorus, and potassium—the trio that determines plant health.
Without knowing these levels, you’re flying blind, guessing whether your soil needs a boost or a complete overhaul.
This guide breaks down what those numbers mean, how to conduct a test at home, and what to do when the results show deficiencies. Whether your soil is starving for nitrogen or drowning in potassium, you’ll learn how to fix it—without breaking the bank or harming the environment.
Ready to decode your soil’s secrets? By the end, you’ll know exactly how to feed your plants for stronger roots, lusher foliage, and a harvest you can be proud of.
What NPK soil test results mean and how to interpret them
Understanding your NPK soil test results is the first step toward unlocking your garden’s full potential. These three numbers—nitrogen (N), phosphorus (P), and potassium (K)—tell you exactly what your soil is missing or overloaded with, helping you diagnose why your plants might be struggling or thriving.
Without proper balance, even the hardiest plants can suffer from stunted growth, yellowing leaves, or poor flowering.
Think of NPK as your soil’s nutrient report card. A typical result might look like 10-5-8, where each number represents the percentage of that nutrient available to your plants.
But what do these numbers really mean? And how do you translate them into action? Let’s break it down so you can give your garden the precise care it needs.
Let’s start with nitrogen (N), the powerhouse behind lush, green foliage. If your test shows a low N reading (below 50 ppm), your plants will likely exhibit pale yellow leaves (starting from the bottom) and stunted growth.
This is especially critical for leafy greens like lettuce or spinach, which crave nitrogen. On the flip side, high nitrogen (above 100 ppm) can lead to dark, weak stems and rapid but fragile leaf growth.
Too much nitrogen also means fewer flowers or fruits, as plants prioritize foliage over reproduction.
Next, phosphorus (P) is the unsung hero of root development and flowering. A deficiency (below 20 ppm) often shows up as purple or dark green stems and slow root growth. You’ll notice plants struggling to establish themselves or producing weak, sparse flowers.
Phosphorus is crucial for fruit-bearing plants like tomatoes or peppers, so if your test reveals a shortage, it’s time to act. Unlike nitrogen, phosphorus excess is rare and usually only occurs in heavily fertilized soils, potentially causing nutrient lock where plants can’t access other essential minerals.
Potassium (K) is the guardian of plant health, helping regulate water uptake and disease resistance. If your soil test shows low potassium (below 100 ppm), watch for brown or yellow leaf edges (often called "scorch") and weak stems that snap easily. Potassium deficiencies are common in vegetable gardens, particularly for crops like potatoes or corn. Unlike nitrogen or phosphorus, potassium excess is uncommon but can still cause issues like salt buildup in sandy soils, harming beneficial microbes.
Now, let’s talk about balanced ratios. Most vegetable plants thrive with a 3-1-2 NPK ratio (e.g., 30-10-20), while flowering plants often need more phosphorus (e.g., 10-20-10).
If your test results show a skewed ratio, like high N but low P, your plants might produce lots of leaves but few flowers or fruits. This is why understanding your specific plant needs is key—what works for tomatoes (high P) won’t cut it for basil (high N).
One common mistake is assuming a high NPK number means healthy soil. For example, a reading of 200-50-100 might seem impressive, but that excess nitrogen could be burning your plants while the low phosphorus stunts root growth.
Always compare your results to your plants’ specific needs. For instance, legumes like beans fix their own nitrogen, so they don’t need as much as corn, which is a heavy nitrogen feeder.
To put it into practice, let’s say your soil test returns 40-3-15. This means your soil is low in phosphorus and potassium, which could explain why your tomato plants are
Step-by-step guide to conducting an accurate NPK soil test at home
An accurate NPK soil test starts with proper sample collection and testing methods. Whether you use a DIY test kit or send samples to a lab, precision matters—especially if your tomatoes or roses show signs of nutrient stress.
I’ll walk you through the exact steps to avoid skewed results and get reliable data for your garden’s unique needs.
First, choose your testing method: DIY kits (like Luster Leaf or MySoil) are budget-friendly and quick, while lab tests (e.g., from local agricultural extensions) offer deeper insights, including pH and micronutrients. For most home gardeners, a DIY kit suffices—but lab tests are worth it for large gardens or commercial plots.
Test in spring (April-May) or fall (September-October) before planting. Avoid testing after recent fertilization or rain, which can skew results.
Use a clean trowel, sterile containers (or new plastic bags), and a soil probe (optional). Label containers by garden area (e.g., "Vegetable Bed," "Flower Patch").
Take 10-15 cores per area, 4-6 inches deep, removing surface debris. Mix cores in your container—this ensures a representative sample of the entire zone.
Spread soil on a paper towel or clean tray for 24-48 hours. Avoid direct sunlight to prevent nutrient loss. Once dry, sift out rocks and debris for a homogeneous sample.
For DIY kits, measure 1-2 tablespoons of dry soil into the test vial. Add water or reagents as directed. For lab tests, seal samples tightly and mail them with prepaid labels.
Compare results to your plants’ needs (e.g., leafy greens need high nitrogen, while tomatoes thrive with balanced NPK 5-10-10). Adjust fertilizers accordingly—more on this in the next section!
Timing is critical: Test soil 2-4 weeks before planting to allow time for amendments. If your DIY kit shows low phosphorus (P), add bone meal; for deficient potassium (K), use wood ash or greensand. Always re-test after amending to confirm improvements.
Common mistakes to avoid include testing wet soil (which dilutes nutrients) or using contaminated tools (like old trowels with residual fertilizer). For container gardens, sample from multiple pots—nutrient levels can vary drastically between them.
Pro tip: Keep a garden journal to track NPK levels over time. Note which amendments worked best for your soil type—this helps you refine your approach for future seasons. Happy testing!