
How To
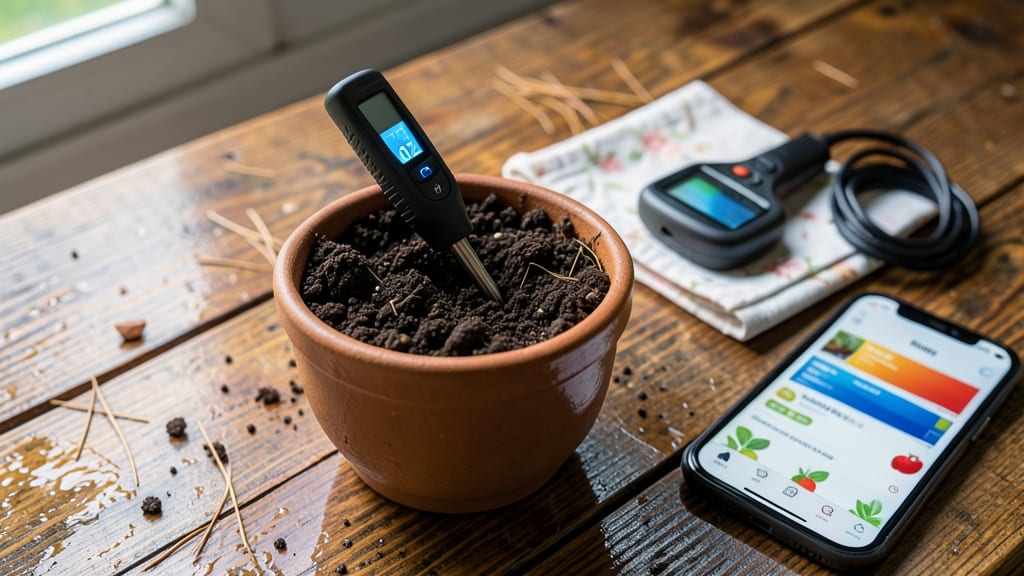
A soil pH probe reveals what your plants are really starving for—sometimes it’s not what you think. 🌱 I’ve used mine to turn my struggling tomatoes into prolific producers, and the secret isn’t guesswork—it’s knowing exactly what your soil’s pH is telling you.
Most gardeners adjust based on hunches, but a probe gives you hard numbers in seconds, cutting years of trial and error down to minutes.
The first step is calibration—skip this, and your readings might as well be a fortune cookie. Fill the probe’s calibration solution, wait the recommended time, and compare it to the included chart.
My probe’s readings jumped from 6.2 to 6.8 after calibration, which explained why my blueberries were struggling (they need 4.5-5.5). Once calibrated, stick the probe into moist soil, wait 30 seconds, and read the display—no more guessing if your soil’s too acidic or alkaline.
What you’ll discover is which plants thrive in your yard’s natural pH. Acid-lovers like azaleas and potatoes love 5.0-6.0, while veggies like spinach and beets prefer 6.5-7.5. If your probe shows a mismatch, you’re just a few amendments away from 20-30% bigger harvests.
The key is acting on the numbers—lime raises pH, sulfur lowers it, and organic matter buffers extremes over time.
Don’t let a cheap probe fool you—some skip calibration or have weak sensors. Invest in a waterproof, dual-probe model (around $30) and store it in distilled water when not in use.
A well-maintained probe lasts years, and the insights it provides are worth every penny. Ready to turn your soil’s mysteries into a foolproof growing system?
📚 In This Guide
- What you need
- Instructions
- Tips and common mistakes
- Wrapping up and next steps
What you need
- ● Soil pH probe: A digital or analog probe with a calibration feature (ensure it measures pH 0-14). Example: Bluelab Soil pH Meter or Apera AI Soil Sensor.
- ● Distilled water: 1 cup (240 mL) per test. Tap water may skew results due to mineral content.
- ● Soil sample: 2-3 tablespoons of moist, clump-free soil from 4-6 inches deep (avoid surface debris).
- ● Small container: A clean, non-reactive bowl or cup (glass/plastic) for mixing soil and water.
- ● Spoon or trowel: For collecting and stirring the soil sample.
- ● pH calibration solution: 2-3 drops (if using a digital probe; check your manual).
- ● Paper towels or cloth: To clean the probe between tests.
- ● pH adjustment tools: Lime (to raise pH) or sulfur (to lower pH) if you plan to amend soil based on results.
- ● Soil test kit: A combo kit (e.g., pH + NPK) for deeper insights into soil health.
- ● Notebook: To log pH readings by plant type or garden section for tracking changes.
- ● Gloves: For hygiene if handling soil with unknown contaminants.
Step-by-Step instructions for testing soil pH with a probe
Here's how I use a soil pH probe to get instant, accurate readings every time.
🌱 Step 1: Prepare the Soil Sample
Start by selecting a representative area of your garden bed—avoid spots near fresh fertilizer or compost piles, as those can skew results. Use a clean trowel to collect about 1 cup of soil from the top 6 inches of soil. Remove any visible debris like rocks or plant fragments, since they don't reflect the actual growing conditions.
Break up any clumps with your fingers until the soil feels like coarse sand. The goal is to get a uniform sample that represents the whole area. If your soil is very dry, add a few drops of distilled water to create a moist but not soggy consistency—this helps the probe work accurately.
💧 Step 2: Calibrate the Probe
Before testing, check if your probe requires calibration. Most digital probes come pre-calibrated, but if yours doesn't, follow the manufacturer's instructions to set it to pH 7.0 using the provided buffer solution. This ensures your readings will be precise. I like to do this step outdoors or near a sink in case of spills.
Insert the probe into the calibration solution until the liquid covers the sensor completely. Wait 30-60 seconds for the reading to stabilize—you'll see the digital display flicker before settling on a steady number. If the reading doesn't match 7.0, recalibrate or check for sensor damage.
☀️ Step 3: Take the Soil Reading
Gently insert the probe into your prepared soil sample, pushing it in about 2-3 inches deep. Hold it steady for 10-15 seconds while the sensor does its work. The display will show a number between 3.0 and 10.0, but don't trust the first reading—wait until the number stops fluctuating before recording it.
For best results, take 3-4 readings from different spots in your garden and average them. I like to jot down each reading in a small notebook so I can track changes over time. If your soil tests below 6.0, it's acidic; above 7.5, it's alkaline. Most vegetables prefer a neutral 6.0-7.0 range.
✂️ Step 4: Interpret and Adjust
Once you have your reading, compare it to the ideal pH for the plants you're growing. For example, blueberries thrive in acidic (4.5-5.5) soil, while tomatoes prefer slightly acidic to neutral (6.0-6.8) soil. If your reading is off by more than 1.0 pH unit, you'll need to amend the soil gradually.
For acidic soil, add elemental sulfur or peat moss; for alkaline soil, use lime or wood ash. I recommend making changes in small batches and retesting after 4-6 weeks to avoid shocking plant roots. Remember, sudden pH shifts can harm beneficial soil microbes just as much as your plants.
⏰ Step 5: Maintain and Store Your Probe
After use, rinse the probe with distilled water to remove soil residue, then store it in a dry place. Never leave it submerged in water or cleaning solutions, as this can damage the sensor. I keep mine in a small plastic case with silica gel packets to absorb any moisture that might cause corrosion.
Check your probe's accuracy every few months by testing it against a known pH buffer solution. If the readings drift more than 0.5 pH units from the expected value, it's time to replace the probe. With proper care, a good soil pH probe can last for years and save you from costly guesswork in the garden.
Tips & tricks for perfect soil pH testing
These simple techniques will help you get the most accurate readings from your soil pH probe every time.
Sample Consistency is Key: In Step 1, when preparing your soil sample, aim for a texture similar to coarse sand. If your soil is too dry, add just a few drops of distilled water—too much moisture can throw off readings. I find that gently breaking up clumps with my fingers works best, as it creates a uniform texture that the probe can read accurately without interference.
Calibration Confidence: During Step 2, if your probe isn't reading exactly 7.0 after calibration, don't panic. Minor fluctuations are normal—just recalibrate once more. I've found that keeping the probe fully submerged in the calibration solution for the full 30-60 seconds is crucial. If it still doesn't stabilize, your probe might need professional servicing, as sensor drift can occur over time.
Reading Technique Matters: In Step 3, when taking your soil reading, resist the urge to move the probe around. The 10-15 seconds of steady contact is when the sensor does its most accurate work. I like to use my non-dominant hand to gently hold the probe in place while I watch the display. The first reading often jumps around—wait for that steady number before recording.
Probe Care Extends Accuracy: After Step 5, when storing your probe, I can't stress enough how important it is to rinse it thoroughly with distilled water. Regular tap water contains minerals that can build up on the sensor over time. I've had probes last over 5 years with this simple maintenance routine—it's the best investment in long-term accuracy you can make.
Pro Tips for Soil Ph Probe
- These simple techniques will help you get the most accurate readings from your soil pH probe every time.
- Sample Consistency is Key: In Step 1, when preparing your soil sample, aim for a texture similar to coarse sand.
- Calibration Confidence: During Step 2, if your probe isn't reading exactly 7.0 after calibration, don't panic.
Frequently asked questions
Got questions about using a soil pH probe? You’re not alone! Here are answers to the most common ones to help you get accurate readings every time.
How often should I test my soil pH?
Test your soil pH at least once a year for general gardens. If you’re dealing with acidic-loving plants (like blueberries) or alkaline-tolerant ones (like lavender), check every 3-6 months or after major soil amendments. Healthy soil pH keeps nutrients accessible to plants!
How long does a soil pH probe take to give a reading?
Most digital probes provide a reading in 10-30 seconds—just insert the probe into moist soil, wait for the needle or digital display to stabilize, and you’re done! For analog probes, it may take slightly longer (up to a minute) to get a steady reading.
Can I use a soil pH probe in dry soil?
Nope! Dry soil can give inaccurate readings. Always moisten the soil slightly (like a damp sponge) before testing. If your soil is bone-dry, water it first and test again after 24 hours. Pro tip: Test in the morning when soil moisture is more consistent.
What if my probe reading seems off compared to a lab test?
Discrepancies can happen! Calibrate your probe monthly using a pH buffer solution (pH 4.0 and 7.0). If readings still vary, clean the probe with distilled water or vinegar, and avoid dropping it. For critical projects, cross-check with a home test kit or lab for peace of mind.
Are cheap soil pH probes accurate?
Budget probes (<$20) work for basic gardening, but they may lack precision for serious growers. Mid-range ($30–$50) digital probes with automatic temperature compensation are more reliable. For hydroponics or commercial use, invest in a high-end probe with calibration features.
Wrapping up and next steps
Mastering your garden’s health starts with understanding its soil pH—and a soil pH probe makes it effortless! 🌱 With the right tools and techniques, you’ve learned how to test, interpret, and adjust your soil like a pro.
Whether you’re nurturing veggies, flowers, or lawns, knowledge is your greatest ally in creating thriving green spaces.
Ready to take the next step? Start small: test a few spots in your garden, keep a journal of your findings, and experiment with amendments. Your perfect pH balance—and a flourishing garden—are just a probe away! 🚀