
How To
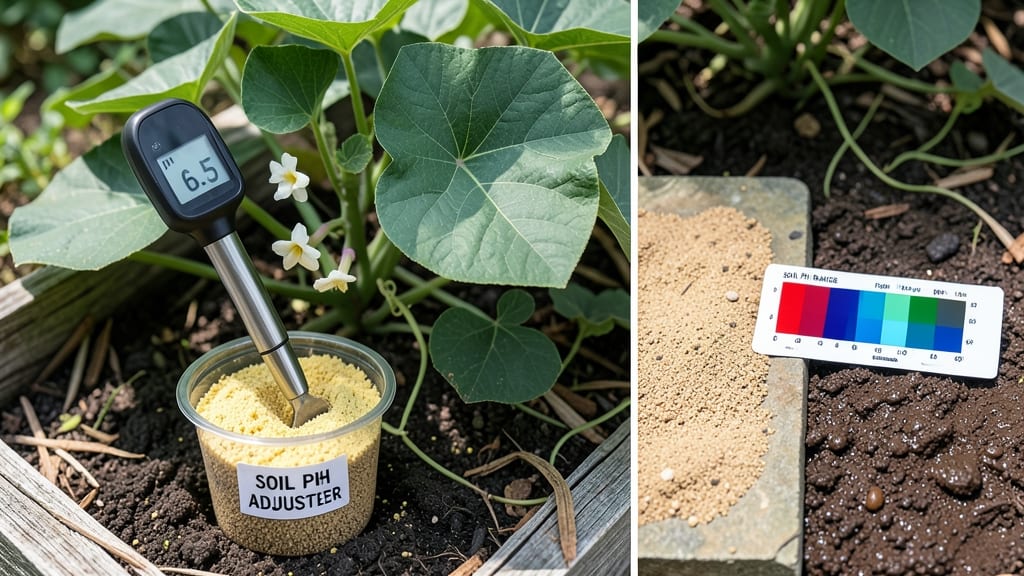
Growing sweet potatoes with the right soil pH is the secret to bigger, sweeter tubers—and most gardeners get this critical step wrong.
If you’ve ever planted sweet potatoes 🍠 only to watch them struggle with yellowing leaves or tiny roots, chances are your soil pH is off.
The ideal acidic range (between 5.8 and 6.5) isn’t just a number—it’s the difference between a meager harvest and a garden overflowing with sweet, starchy goodness.
In this guide, I’ll break down why pH matters so much for nutrient uptake, how to test your soil like a pro, and the easiest ways to adjust it naturally—without chemicals. You’ll also learn how to spot pH problems early and fix them before they derail your entire crop.
Ready to turn your sweet potato patch from ho-hum to home-run? Let’s get your soil in the perfect zone for maximum yield.
Optimal sweet potato soil pH range: why acidic conditions boost growth
Sweet potatoes are finicky about their growing environment, and soil pH plays a starring role in their success. The ideal sweet potato soil pH range is 5.8 to 6.5, a slightly acidic window that unlocks their full potential.
When soil pH strays from this range, nutrient availability plummets, leading to weak vines and undersized tubers. Think of it like tuning a guitar—get it just right, and you’ll hear harmony (or in this case, a bountiful harvest).
Why the obsession with acidity? Sweet potatoes thrive in mildly acidic soil because it enhances the uptake of critical nutrients like phosphorus, potassium, and zinc. Phosphorus, for example, becomes 10 times more available at pH 6.0 than at pH 7.0.
Without these nutrients, your plants won’t develop the robust root systems or sweet, flavorful tubers you’re hoping for. Even a slight shift outside this range can trigger visible stress, like yellowing leaves or stunted growth.
Here’s the science: Soil pH affects how plants access nutrients through a process called ion exchange. In acidic conditions, essential minerals like iron and manganese stay soluble and ready for absorption.
But if the soil becomes too alkaline (above 7.0), these nutrients bind to soil particles and become locked away. The result? Your sweet potatoes won’t just underperform—they’ll struggle to survive. Understanding this balance is key to growing sweet potatoes that are both plentiful and packed with flavor.
| Soil pH Range | Nutrient Availability | Plant Response | Signs of Imbalance |
|---|---|---|---|
| 5.8 – 6.5 | High phosphorus, potassium, zinc | Optimal growth, large tubers | Healthy green leaves, strong vines |
| Below 5.8 | Low phosphorus, toxic aluminum | Stunted roots, poor tuber formation | Yellowing leaves, weak stems |
| Above 6.5 | Low iron, zinc, manganese | Chlorosis, reduced yield | Yellow between leaf veins, small tubers |
Let’s talk about the three key nutrients that sweet potatoes crave in acidic soil. Phosphorus fuels root and tuber development, while potassium strengthens disease resistance and drought tolerance. Without enough of either, your plants will look leggy and produce tiny, misshapen tubers.
Then there’s zinc, a micronutrient that helps with enzyme function—deficiency here leads to stunted growth and distorted leaves. When soil pH is in the sweet spot, these nutrients are readily available, ensuring your sweet potatoes grow like they’re on a growth spurt.
But how do you know if your soil is too acidic or alkaline? Watch for these visual clues. If your sweet potato leaves develop yellowing between the veins (a condition called interveinal chlorosis), it’s often a sign of high pH and iron deficiency.
On the other hand, if leaves turn uniformly yellow and the plant looks weak, your soil might be too acidic. Stunted roots or small, underdeveloped tubers are red flags too—both suggest the soil isn’t providing the right nutrient balance. Paying attention to these signs early can save your harvest.
Here’s a pro tip: Soil pH isn’t static. It changes with organic matter, rainfall, and even the types of plants you’ve grown before. For example, growing blueberries (which love acidic soil) last year might have lowered your pH naturally, while heavy lime applications for lawns can raise it.
That’s why testing your soil every 2-3 years is a smart move, especially if you’re serious about sweet potato yields. A simple DIY pH test kit (available at garden centers) can give you the answers in minutes.
What if your soil is already outside the ideal range? Don’t panic—adjusting pH is easier than you think. To lower pH (make soil more acidic), add organic amendments like sulfur, pine needles, or peat moss. For raising pH (making soil less acidic), use lime or wood ash.
The key is patience: pH changes gradually, so monitor your soil over time. Aim for small adjustments (like 0.5 pH points per season) to avoid shocking your plants. Think of it like fine-tuning a recipe—small changes make a big difference.
One mistake I see often is assuming that compost alone will fix pH issues. While compost improves soil structure and adds nutrients, it doesn’t drastically change pH. To truly optimize your soil, combine compost with targeted amendments.
For example, mix in composted leaves (which are slightly acidic) to lower pH while also improving soil health. This two-pronged approach ensures your sweet potatoes get both the right pH and the nutrients they need to thrive.
Remember, the goal isn’t just to hit the 5.8–6.5 pH range—it’s to create a balanced, fertile environment where sweet potatoes can flourish. Healthy soil means fewer pests, better disease resistance, and tubers that are sweeter and more abundant.
By understanding how pH affects nutrient uptake, you’re not just growing sweet potatoes—you’re cultivating a thriving ecosystem under your care. Now, grab that pH test kit and let’s get growing!
How to test and adjust sweet potato soil pH for better harvests
Testing your sweet potato soil pH is the first step to unlocking those sweet, plump tubers you dream of harvesting. Sweet potatoes prefer a slightly acidic environment, but many gardeners unknowingly plant in soil that’s either too alkaline or too acidic.
Without the right pH, your plants may struggle with nutrient deficiencies, stunted growth, or even disease susceptibility. Let’s break down how to get your soil just right for a thriving crop.
Before diving into adjustments, you’ll need to know your current soil pH. There are two main methods: using a DIY pH test kit or sending a sample to a lab for professional analysis. DIY kits are quick and affordable, while lab tests offer precise results.
For most home gardeners, a quality test kit is the perfect balance of convenience and accuracy. Once you have your pH reading, you can make informed decisions about amendments to bring your soil into the ideal range of 5.8 to 6.5 for sweet potatoes.
Testing Methods: DIY Kits vs. Lab Tests
DIY pH Test Kits
- Pros: Fast, affordable (~$10-$20), easy to use
- Cons: Less precise, color-matching can be subjective
Lab Soil Tests
- Pros: Highly accurate, includes nutrient analysis, trusted results
- Cons: Costly (~$20-$50), takes 1-2 weeks for results
Organic Amendments
- Pros: Improves soil health long-term, safe for plants
- Cons: Slower to adjust pH, requires regular maintenance
Chemical Adjustments
- Pros: Faster results, precise pH control
- Cons: Can harm soil microbes, risk of over-correction
If your soil pH is too high (alkaline), you’ll need to lower it using organic amendments like elemental sulfur, peat moss, or pine needles.
For every 1 point you need to lower the pH, apply about 2-4 pounds of elemental sulfur per 100 square feet of garden bed. Work it into the top 6 inches of soil and water thoroughly to activate the amendment.
Pine needles are a slower but natural option—sprinkle them around your plants and let them decompose over time.
On the flip side, if your soil is too acidic, you’ll need to raise the pH using lime (calcium carbonate) or wood ash. For every 1 point you need to increase the pH, apply about 5-10 pounds of agricultural lime per 100 square feet.
Lime works best when worked into the soil 2-3 months before planting. Wood ash is a quicker fix but use it sparingly—too much can make the soil too alkaline. Always test your soil again after making adjustments to ensure you’ve hit the sweet spot.
Long-term soil health is just as important as quick fixes. Incorporate compost or well-rotted manure into your soil before planting to improve its structure and nutrient content. This not only helps maintain the right pH but also encourages beneficial microbial activity.
Mulching with organic materials like straw or leaves can also help stabilize soil pH over time by slowly releasing nutrients and organic matter as they break down.
Remember, soil pH isn’t a one-time adjustment—it’s an ongoing process. After your first harvest, retest your soil and make any necessary tweaks. Sweet potatoes are forgiving, but giving them the ideal pH range will reward you with larger, sweeter tubers and healthier plants.
With the right approach, you’ll be well on your way to a bountiful harvest that rivals the best farmers' markets.