
Companion Plants
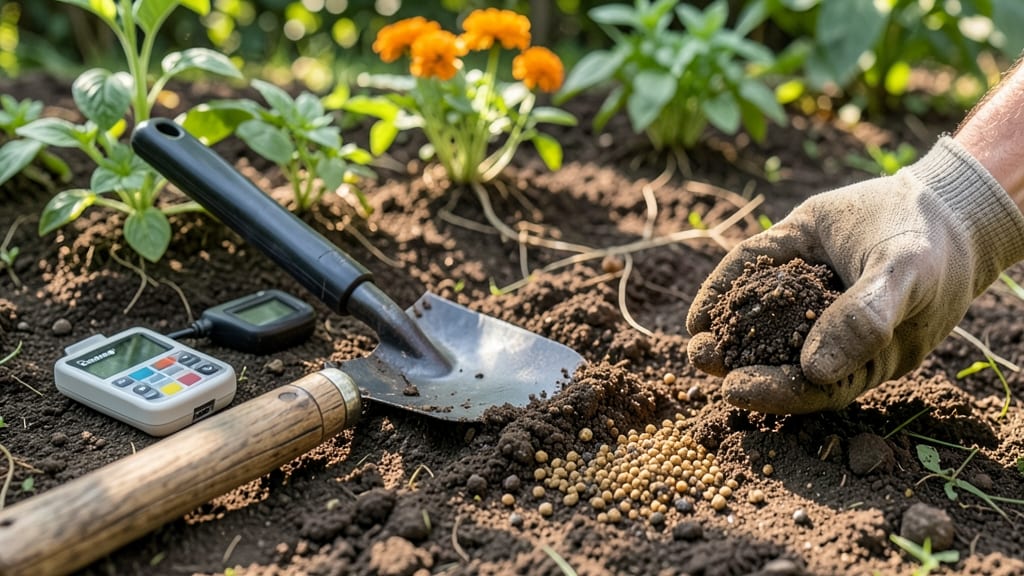
The right garden soil for plants isn't just dirt—it's the foundation that keeps roots breathing, not drowning. ✨ My first garden failed because the heavy clay soil suffocated my tomatoes, and I learned the hard way that plants need air pockets as much as nutrients.
The difference between thriving and struggling gardens often comes down to soil structure, not just what you plant.
Most gardeners start with what they've got—sandy soil drains too fast, clay holds too much water, and loam (the gold standard) balances everything. But even perfect soil degrades over time, so we add organic matter like compost or well-aged manure to improve texture.
A simple DIY test reveals your soil's health: squeeze a handful—if it crumbles easily, you're golden; if it sticks like Play-Doh, you've got work to do.
You'll see the payoff in lush, vibrant plants that resist disease and drought. Root rot disappears when soil drains properly, and nutrients stay accessible instead of leaching away. The key is testing pH (most plants prefer 6.0–7.0) and adjusting with lime or sulfur if needed—small tweaks make a huge difference.
This approach works for flower beds, vegetable patches, or even potted plants. Whether you're fixing a problem plot or setting up a new garden, the principles stay the same: better soil = happier plants. Let's get your garden growing right from the ground up.
📚 In This Guide
- What you need
- Instructions
- Tips and common mistakes
- Wrapping up and next steps
What you need
- ● Garden soil (topsoil): 50% of the mix (use loamy soil with good drainage; avoid heavy clay). Quantity: ~4-6 cubic feet per 1 cubic foot of space.
- ● Compost: 20-30% of the mix (well-aged, not fresh). Quantity: ~1-2 cups per gallon of soil.
- ● Perlite or vermiculite: 10-15% (adds air pockets and moisture retention). Quantity: ~1 cup per 5 gallons of soil.
- ● Coarse sand (builder’s sand): 10-15% (improves drainage). Quantity: ~1 cup per 5 gallons of soil.
- ○ Worm castings (optional but recommended): 5-10% (boosts nutrients). Quantity: ~½ cup per 5 gallons.
- ● Garden gloves (to protect your hands from rough materials).
- ● Wheelbarrow or large bucket (for mixing; 5-gallon capacity recommended).
- ● Garden trowel or shovel (for amending existing soil or filling containers).
- ○ pH testing kit (optional but helpful; ideal range: 6.0–7.0).
- ● Watering can or hose (for moistening the mix before planting).
- ○ Mulch (e.g., straw or wood chips) (optional; helps retain moisture and suppress weeds).
- ● Sterilize soil if repurposing old soil (bake in oven at 200°F for 30 mins or solarize for a week).
- ● For container gardens, add orchid bark or coconut coir (5%) for extra aeration.
- ● Test drainage: Fill a container with your mix, pour water, and ensure it drains within 10–15 minutes.
Step-by-Step guide to creating air-pocket rich garden soil
This mix keeps roots breathing while preventing waterlogged disasters—here's how to build it right.
🌱 Step 1: Choose Your Base Materials
Start with equal parts of topsoil, compost, and sand (or perlite for better drainage). I like to use one part each for a balanced mix—this gives you the structure of soil, the nutrients from compost, and the air pockets from sand. If your soil is naturally heavy clay, increase the sand to one-third of the total mix to improve drainage.
Break up any clumps in the topsoil and compost before mixing. You want everything loose so roots can spread easily. I sift mine through a ¼-inch mesh screen to remove large debris that could compact later. This step ensures your soil stays fluffy and workable for months.
💧 Step 2: Mix Thoroughly for Even Texture
Spread the topsoil, compost, and sand in a large wheelbarrow or clean tarp in equal piles. Use a garden fork or shovel to cut through each pile and mix them together. Work in layers—after the first pass, flip the pile over and repeat until the mix looks uniform in color and texture.
Test your mix by grabbing a handful and squeezing it gently. If it holds together but crumbles when you release pressure, you’ve got the right consistency. If it stays in a solid clump, add more sand. If it falls apart completely, blend in more compost. This is your air-pocket check—roots need space to breathe!
☀️ Step 3: Adjust for Your Climate and Plants
For dry climates, add ½ cup of peat moss per 5-gallon bucket of mix to help retain moisture. In wet areas, swap the peat moss for an extra ¼ cup of perlite to prevent compaction. If you’re planting heavy feeders like tomatoes or peppers, stir in 1 cup of balanced organic fertilizer per 5-gallon bucket—this gives roots a nutrient boost without overwhelming them.
I always test the pH of my mix before planting. Most vegetables thrive in 6.0–7.0 pH, while blueberries need 4.5–5.5. Use a soil test kit to check—if your mix is off, adjust with lime (to raise pH) or sulfur (to lower pH). This step prevents nutrient lockout before you even plant.
✂️ Step 4: Apply and Maintain the Mix
Spread the finished soil over your garden beds to a depth of 6–12 inches, depending on the plant type. For shallow-rooted plants like lettuce, 6 inches is plenty. For deep-rooted trees or shrubs, go deeper to 12 inches. Rake it smooth and firm it lightly with your hands—just enough to remove air pockets without compacting.
After planting, water deeply to settle the soil around roots. Then, top-dress with 1–2 inches of mulch (like shredded bark or straw) to protect the mix from drying out or crusting. Replenish the mulch every 3–4 months to maintain airflow at the soil surface. This keeps roots happy and prevents that dreaded root rot.
🪴 Step 5: Monitor and Refresh Seasonally
Check your soil mix once a month by digging a small hole near your plants. If the mix feels dry and crumbly, it’s time to add compost to replenish nutrients. If it’s sticky or smells sour, it’s too wet—amend with more sand or perlite. I also rotate crops annually to prevent nutrient depletion and disease buildup in the same spot.
Every fall, till in 2–3 inches of fresh compost to recharge the mix. This keeps the air pockets open and feeds beneficial microbes that break down organic matter into plant-available nutrients. Think of it like giving your soil a spring cleaning—it stays fresh and productive for years.
Tips & tricks for perfect garden soil mixes
Here's what nobody tells you about creating the ideal foundation for your plants.
Texture is Everything: The squeeze test in Step 2 is your best friend. When you grab a handful of your mix, it should feel like crumbly cookie dough—firm enough to hold its shape but crumble easily when you release pressure. If it sticks together like wet sand, you need more sand or perlite to create those crucial air pockets. Think of it as the Goldilocks principle: not too dense, not too loose, just right for roots to breathe and grow.
Compost Quality Matters: Don't skimp on the compost—it's the heart of your mix. I always use well-aged compost (at least 6 months old) because fresh compost can burn plants with its high ammonia content. Look for dark, crumbly compost with an earthy smell. If you're using store-bought compost, check the label for organic certification to ensure you're getting the nutrient-rich goodness your plants need.
Layering Technique: When mixing in Step 2, work in thin layers—about 2-3 inches at a time. This helps distribute the ingredients evenly and prevents creating pockets of pure sand or compost. After each layer, use your garden fork to cut through and mix thoroughly. This method ensures every shovel-full of your final mix has the perfect balance of topsoil, compost, and sand, giving your plants consistent nutrition and aeration throughout their root zones.
Seasonal Soil Refresh: That fall compost refresh in Step 5 is non-negotiable for long-term success. I've seen gardeners skip this step and wonder why their soil loses its fluffiness after just one growing season. The annual compost addition isn't just about nutrients—it's about maintaining that perfect air-pocket structure. Think of it like adding new mattress padding every year to keep your plants sleeping (growing!) comfortably.
Pro Tips for Garden Soil For Plants
- Here's what nobody tells you about creating the ideal foundation for your plants.
- Texture is Everything: The squeeze test in Step 2 is your best friend. When you grab a handful of your mix, it should...
- Compost Quality Matters: Don't skimp on the compost—it's the heart of your mix. I always use well-aged compost (at le...
Frequently asked questions
Got questions about the perfect garden soil for your plants?
You’re not alone! Below are some of the most common concerns—plus quick, actionable answers to keep your roots happy and your garden thriving.
What’s the best soil mix for preventing root rot?
For root rot prevention, aim for a well-draining, airy mix with 50% organic matter (compost, coconut coir) and 50% inorganic bulk (perlite, vermiculite, or coarse sand). Avoid heavy clay soils—they trap moisture and suffocate roots. A 3:1 ratio of potting soil to perlite is a great starting point!
How often should I refresh or replace garden soil?
Refresh your soil every 1–2 years for optimal health. If you notice compaction, poor drainage, or a musty smell, it’s time to amend it with compost or a fresh mix. For container plants, replace soil annually to prevent nutrient depletion and disease buildup.
Are there budget-friendly alternatives to premium soil mixes?
Skip pricey blends by combining:
- 60% garden soil (from your yard or local source)
- 20% compost (homemade or store-bought)
- 10% perlite or coarse sand (for drainage)
- 10% worm castings (boosts nutrients naturally)
How do I know if my soil is too wet or too dry?
Test your soil’s moisture by squeezing a handful:
- Drips water → Too wet (add perlite/sand to improve drainage).
- Holds shape but crumbles → Perfect (ideal for most plants).
- Powdery/dusty → Too dry (add organic matter like peat moss).
My plants still have root rot—what went wrong?
Root rot often stems from overwatering, poor drainage, or compacted soil. Check these fixes:
- Repot in a container with drainage holes and fresh, airy soil.
- Water only when the top 1–2 inches of soil are dry.
- Add orchid bark or hydroponic clay pebbles to improve airflow.
- If roots are mushy and black, trim affected roots and treat with fungicide.
Wrapping up and next steps
Creating the perfect garden soil for plants—rich in air pockets and free from root rot—is all about balance. By blending organic matter, adjusting texture, and ensuring proper drainage, you’re giving your plants the healthy foundation they deserve. 🌱
Now that you’re armed with the know-how, it’s time to roll up your sleeves and get growing! Start small with a test patch, observe how your plants thrive, and refine your mix as needed. Happy gardening—your plants will thank you! 🌿