
How To
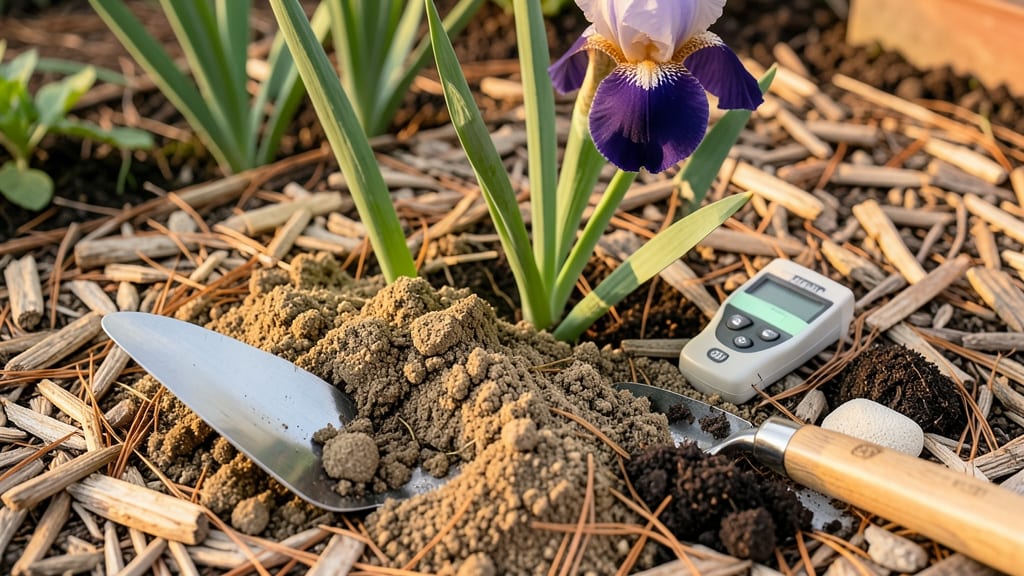
Your irises deserve soil that’s 6.0 to 7.0 pH, loose enough to breathe but rich enough to feed—like a well-drained, slightly acidic loam. 🌱 I learned the hard way that heavy clay or sandy soil can turn vibrant blooms into sad, stunted stalks, no matter how much water you give them.
The secret lies in balancing organic matter, grit, and proper drainage to mimic their natural prairie roots.
Start with 50% garden soil, then mix in 30% compost (for nutrients) and 20% coarse sand or perlite (for drainage). If your soil is naturally clay, work in pebbles or grit—even a handful per planting hole makes a difference.
Irises hate soggy feet, so raised beds or mounds help too. Test your soil first; if it’s too alkaline, add sulfur or peat moss to adjust the pH gradually.
What you’ll get is bold, healthy foliage and showstopping blooms that last weeks longer than in poor soil. The roots stay strong, the rhizomes multiply, and you’ll spend less time struggling with floppy stems. Even in heavy clay regions, this blend works—just add extra grit if your area drains slowly.
For year-round success, top-dress with compost in early spring and avoid over-fertilizing (irises prefer lean soil). If your blooms fade early, it’s usually a sign of too-rich soil—cut back on nitrogen. Now grab your gloves and let’s get those irises thriving!
📚 In This Guide
- What you need
- Instructions
- Tips and common mistakes
- Wrapping up and next steps
What you need
- ● Garden soil (topsoil): 50% by volume (start with 2-3 cubic feet per plant)
- ● Peat moss or coconut coir: 25% (retains moisture while preventing compaction)
- ● Perlite or coarse sand: 20% (boosts drainage—opt for sharp sand or horticultural perlite)
- ● Compost or well-rotted manure: 5% (adds organic matter; avoid fresh manure)
- ○ Sulfur or pine fines (optional but critical for acidity): 1-2 tbsp per 5-gallon bucket of mix (aim for pH 6.0–7.0)
- ● Garden fork or trowel: For mixing and amending soil in place
- ● pH test kit: Digital or liquid test strips (to verify acidity levels)
- ● Gloves & wheelbarrow: For handling heavy materials (trust us, your back will thank you!)
- ● Garden hose or watering can: To moisten soil before planting
- ○ Optional: Mulch (pine bark or shredded leaves) to maintain acidity long-term
How to create the perfect acidic loam blend for irises
Here’s the foolproof method I’ve used to coax vibrant blooms from irises—no guesswork, just science-backed soil science.
🌱 Step 1: Start With a Base of Well-Draining Loam
Irises demand a slightly acidic to neutral loam with good drainage—they’ll rot if their roots sit in soggy soil. Begin with 50% high-quality garden loam (not potting mix) as your base. This provides the necessary texture and organic matter for root development. If your native soil is heavy clay or sandy, amend it now—irises despise both extremes.
Sift the loam to remove rocks and debris, then moisten it lightly until it holds together when squeezed but doesn’t clump. You’ll know it’s ready when a handful crumbles easily between your fingers. This step ensures your blend won’t compact over time, which is critical for iris rhizomes that need oxygen at their base.
💧 Step 2: Acidify with Peat Moss or Pine Fines
Irises thrive in soil with a pH between 6.0 and 7.0. To lower the pH of your loam blend, mix in 30% peat moss (sphagnum type) or 20% finely ground pine bark. Peat moss is the traditional choice—it holds moisture while keeping the blend aerated, but pine fines add a slightly coarser texture that mimics natural woodland conditions where many iris species originate.
Work the amendment into the loam by hand or with a garden fork until uniformly distributed. Avoid power tools here—they’ll pulverize the structure you’re trying to create. Test the blend’s acidity with a soil pH meter (aim for 6.2-6.8). If it’s still too alkaline, add a handful of sulfur powder (½ cup per 5 gallons of mix) and re-test after a week.
☀️ Step 3: Boost Drainage with Perlite or Coarse Sand
Irises hate wet feet—their rhizomes rot in waterlogged conditions. To prevent this, incorporate 20% perlite or coarse sand into your blend. Perlite is my go-to because it adds air pockets while resisting compaction, but horticultural sand works too (just avoid fine beach sand—it compacts over time).
Sift the perlite or sand through a ¼-inch mesh screen to eliminate large chunks, then fold it into the loam-peat mixture. The goal is a chunky, open texture—when you squeeze a handful, it should feel light and airy, not dense. This structure mimics the well-drained, slightly rocky soils where irises grow wild in meadows and prairies.
✂️ Step 4: Condition with Organic Matter for Long-Term Health
Add 10% compost or well-rotted leaf mold to your blend to feed the soil microbiome and retain moisture without suffocating roots. Irises benefit from slow-release nutrients, and compost provides a steady supply without the burn risk of fresh manure. If using leaf mold, ensure it’s fully decomposed—fresh leaves can mat and create anaerobic pockets.
Mix the compost in last, then fluff the entire blend with a garden fork to aerate it. The final texture should resemble crumbley cake batter—light enough to drain but rich enough to hold nutrients. Store any extra mix in a dry, shaded spot until planting day to preserve its structure.
🪴 Step 5: Test and Adjust Before Planting
Before using your blend, conduct a final pH test (aim for 6.2-6.8) and a moisture test: squeeze a handful—it should hold shape but not drip water. If it’s too acidic (below 6.0), add a small amount of lime (½ cup per 5 gallons) and re-test. If it’s too alkaline (above 7.0), add more peat moss or sulfur.
Irises are finicky about soil, but this blend gives them exactly what they need: freely draining, slightly acidic, and nutrient-rich. Once planted, water deeply but infrequently—irises prefer dry spells between rains. You’ll see the difference in stronger stems and larger blooms within a single season.
Tips & tricks for perfect acidic loam blend for irises
These pro-level insights will help you create the ideal growing medium that transforms your iris garden from ordinary to extraordinary.
Soil Texture Mastery: The 50% garden loam base is non-negotiable for iris health, but here's the secret: pre-moisten your loam until it forms a loose ball that crumbles when squeezed—this prevents compaction. I've learned the hard way that skipping this step leads to soil that hardens like concrete over time, suffocating rhizomes. Think of it as creating a sponge that drains quickly but holds just enough moisture.
pH Precision: That 6.2-6.8 range is your sweet spot, but achieving it takes patience. When testing with a pH meter, take multiple readings from different spots in your blend—some areas may be slightly more acidic than others. If you're adjusting with sulfur powder, remember it takes about a week to fully acidify the soil. I keep a small notebook to track my adjustments, which has saved me from over-correcting and creating soil that's too acidic.
Drainage Structure: The 20% perlite or coarse sand isn't just about drainage—it's about creating the perfect air-to-moisture ratio. When you fold in the perlite, think of it as building tiny air pockets throughout the blend. To test your work, press your thumb into the mix—it should sink slightly but not compress. This open structure is what prevents those dreaded rhizome rots that can kill your irises overnight.
Organic Matter Timing: Adding that final 10% compost or leaf mold last is crucial because it's the glue that holds your blend together. Work it in gently with your hands—this prevents breaking up the air pockets you've worked so hard to create. I've found that adding compost too early can create clumps that never fully break down, leaving dead spots in your soil where roots won't grow.
Pro Tips for Soil For Iris
- These pro-level insights will help you create the ideal growing medium that transforms your iris garden from ordinary...
- Soil Texture Mastery: The 50% garden loam base is non-negotiable for iris health, but here's the secret: pre-moisten ...
- pH Precision: That 6.2-6.8 range is your sweet spot, but achieving it takes patience. When testing with a pH meter, t...
Frequently asked questions
Got questions about the perfect soil for your irises? You’re not alone!
Here are answers to the most common concerns—from soil prep to troubleshooting—so you can grow stunning blooms with confidence.
What type of soil do irises need?
Irises thrive in well-draining, slightly acidic to neutral soil (pH 6.0–7.0). A mix of loamy soil with sand or perlite (to prevent waterlogging) and a touch of compost is ideal. Avoid heavy clay or soggy soil—irises hate wet feet!
When is the best time to amend soil for irises?
Amend your soil in early spring or fall, before planting or after blooming. This gives roots time to adjust. If you’re dividing clumps, work in fresh soil mix right after digging to minimize stress.
Can I grow irises in containers? What soil should I use?
Yes! Use a fast-draining potting mix (e.g., 50% potting soil, 30% perlite, 20% coarse sand). Add a handful of orchid bark or gravel to the bottom for extra drainage. Containers dry out faster, so water only when the top inch is dry.
My irises aren’t blooming—could the soil be the problem?
Possible culprits: too-rich soil (fertilizer burns), poor drainage (root rot), or overcrowded rhizomes. Test your soil’s pH (aim for 6.0–7.0) and ensure it’s not compacted. Divide clumps every 3–4 years to revive blooms!
Are there alternatives to loam for iris soil?
Mix 50% garden soil + 30% coarse sand + 20% peat moss or coconut coir for a budget-friendly blend. For sandy soils, add compost or aged manure (10%) to retain moisture. Never use fresh manure—it can burn rhizomes!
Wrapping up and next steps
Choosing the right soil for iris—like a well-draining, slightly acidic loam blend—is your secret weapon for stunning blooms! 🌸 With the perfect mix of organic matter, gritty texture, and balanced pH, your irises will thrive and reward you with vibrant, show-stopping flowers.
Now that you’re armed with the knowledge, it’s time to roll up your sleeves and give your irises the home they deserve.
Ready to transform your garden? Start by testing your current soil and adjust it with the tips shared here. Happy planting—your irises are waiting for their big break! 🌱