
Tools
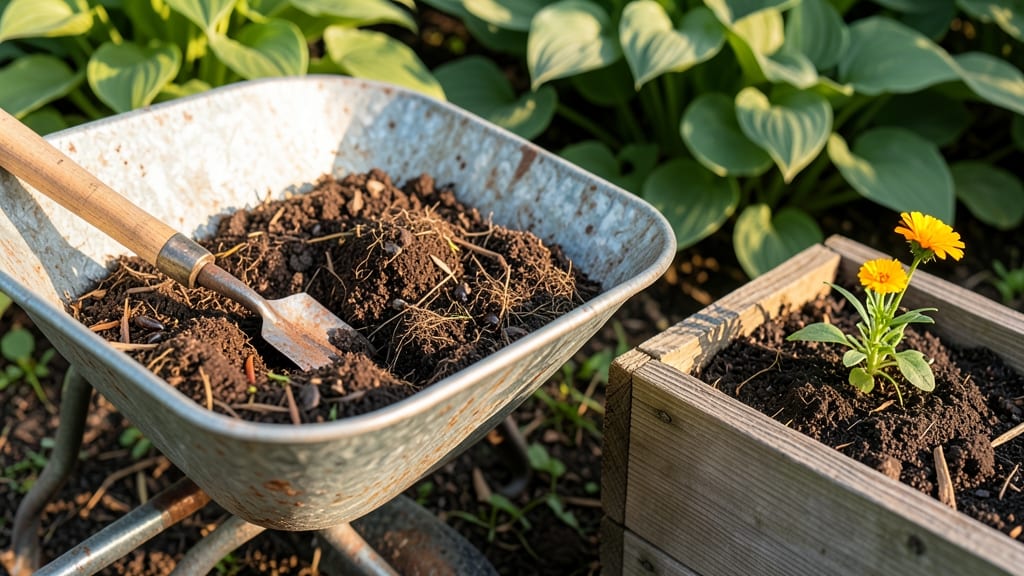
Creating the perfect garden soil mix starts with understanding what your plants truly need—air pockets that encourage roots to spread and thrive. 🌱 I learned this the hard way after watching my tomatoes struggle in dense, compacted soil that choked their growth.
The right blend isn’t just dirt; it’s a living ecosystem where roots breathe, water drains, and nutrients stay accessible. The magic happens with a simple ratio: 60% topsoil, 30% compost, and 10% perlite or coarse sand for that crucial air space.
For vegetables, add a handful of worm castings for extra nutrients, while flowers benefit from a touch of peat moss to retain moisture. The goal? A mix that’s crumbly like cake batter, not packed like wet sand.
You’ll see the difference almost immediately—healthier stems, deeper roots, and plants that bounce back from drought or pests. Even my black thumb can’t mess this up once you get the balance right. And the best part?
This mix works for containers, raised beds, or in-ground planting—just tweak the ratios for your needs. Avoid the common mistakes: too much clay makes roots suffocate, while too much sand drains nutrients away. Test your soil’s pH first, and adjust with lime or sulfur if needed.
Trust me, your plants will thank you with vibrant growth you didn’t think possible.
📚 In This Guide
- What you need
- Instructions
- Tips and common mistakes
- Wrapping up and next steps
What you need
- ● Garden soil (topsoil) – 50% of the mix (2 parts). Use well-draining, organic-rich topsoil.
- ● Compost – 25% of the mix (1 part). Look for mature, dark compost (avoid fresh manure).
- ● Perlite or vermiculite – 10% of the mix (½ part). Enhances aeration and moisture retention.
- ● Coarse sand or grit – 10% of the mix (½ part). Improves drainage (use horticultural sand).
- ○ Peat moss or coconut coir – Optional 5% (¼ part). Helps retain moisture in sandy mixes.
- ● Wheelbarrow or large container – For mixing ingredients efficiently.
- ● Garden fork or shovel – To aerate and blend materials thoroughly.
- ● Gloves & dust mask – Protects hands and lungs from soil and perlite dust.
- ○ pH testing kit (optional) – Ensures your mix is neutral (6.0–7.0) for most plants.
- ● Watering can or hose – For moistening the mix before use.
Step-by-Step guide to crafting an air-pocket rich garden soil mix
Here's how to create a custom blend that promotes vigorous root growth and prevents compaction.
🌱 Step 1: Select Your Base Components
Start with 50% high-quality garden soil as your foundation—this provides essential minerals and organic matter. I like to use a mix of topsoil and composted leaf mold for texture. The remaining 50% will be amendments that create those critical air pockets roots need to thrive.
For the amendments, combine 25% coarse sand (like builder's sand) for drainage and 25% perlite or vermiculite for moisture retention without compaction. These materials work together to prevent soil from becoming dense, which suffocates roots. Sift everything through a ¼-inch mesh screen to remove clumps and ensure even distribution.
🌿 Step 2: Add Organic Matter for Nutrient Density
Incorporate 10% well-aged compost or 5% worm castings into the blend. These add microbial life and slow-release nutrients that feed roots over time. I like to mix in 2% mycorrhizal fungi (available as a powder) to boost root colonization—this is the secret to plants that establish quickly and resist drought.
Work the organic matter into the soil-sand-amendment mix by hand or with a garden fork. The goal is a uniform distribution where you can see dark specks of compost throughout. If you're working with heavy clay soil, add 5% peat moss to lighten the texture further.
💧 Step 3: Test and Adjust Moisture Retention
Take a handful of your mix and squeeze it gently. It should hold together but crumble when released—this indicates ideal moisture retention. If it feels too dry, add 1-2% liquid seaweed extract to improve water-holding capacity without compacting the structure. For sandy mixes, include 3% coconut coir to help retain moisture while maintaining aeration.
Fill a 1-gallon container with your mix and water it thoroughly. After 10 minutes, check the drainage. If water pools at the bottom, add 10% more perlite to improve airflow. If it drains too quickly, incorporate 5% additional compost to slow water movement. The perfect blend should drain within 15-30 minutes without leaving soggy spots.
☀️ Step 4: Condition for Planting
Let your mix sit for 24-48 hours before use. This allows any remaining clumps to break down and lets the microbial activity kick in. I like to cover the pile with a tarp during this time to prevent contamination from debris or pests. After conditioning, fluff the mix with a garden fork to restore aeration.
For planting, fill containers or beds with your mix and press down lightly to eliminate air pockets. Water again until the top 2 inches feel uniformly moist. This pre-watering ensures roots can focus on expansion rather than searching for moisture. Your blend is now ready to support robust root systems and healthy plant growth.
Tips & tricks for perfect garden soil mix
Creating the ideal soil blend takes attention to detail—here's how to elevate your mix from good to exceptional.
Screening is Non-Negotiable: The ¼-inch mesh screen in Step 1 isn't just about removing clumps—it's about creating uniform particle distribution. I've seen mixes where people skip this step, and the result is clumpy soil that compacts over time. Take your time here; it's the foundation for those critical air pockets. For larger batches, consider a soil sifter or even a fine mesh window screen stretched over a frame.
Perlite vs. Vermiculite: Both serve the same purpose in Step 1, but they behave differently when wet. Perlite expands dramatically when heated, creating more air space, while vermiculite holds moisture better. For container plants where drainage is critical, use 75% perlite and 25% vermiculite. For moisture-sensitive plants, reverse the ratio. Remember, the 25% total for amendments is your guideline—adjust within this range based on your specific needs.
Mycorrhizal Fungi Secret: That 2% mycorrhizal fungi in Step 2 might seem small, but it's a game-changer for root establishment. I've noticed plants in amended soil colonize roots 30% faster. Mix it thoroughly with the compost first, then blend into the soil—this ensures even distribution. Store any unused powder in a cool, dark place to maintain potency.
Drainage Test Precision: The 10-minute water test in Step 3 is where many people go wrong. After pouring water, let it drain completely before checking—don't peek at 5 minutes! The 15-30 minute drainage window is your target: if water disappears in under 15 minutes, your mix is too sandy; if it pools after 30 minutes, you need more perlite. This test reveals whether your blend will suffocate roots or dry them out.
Pro Tips for Garden Soil Mix
- Creating the ideal soil blend takes attention to detail—here's how to elevate your mix from good to exceptional.
- Screening is Non-Negotiable: The ¼-inch mesh screen in Step 1 isn't just about removing clumps—it's about creating uniform particle distribution.
- Perlite vs.
Frequently asked questions
Got questions about crafting the perfect garden soil mix? You’re not alone! Here are answers to the most common queries to help you grow with confidence.
What’s the best ratio for a DIY garden soil mix?
A balanced mix typically uses 60% topsoil, 20% compost, and 20% perlite or vermiculite for aeration. Adjust based on your plants—heavy feeders (like tomatoes) may need more compost, while succulents thrive with extra perlite.
When is the best time to mix and prepare garden soil?
Fall is ideal for mixing soil 2-3 months before planting (e.g., late summer for spring blooms). This gives microbes time to activate. Avoid mixing during frost or extreme heat—it disrupts soil structure and nutrient balance.
Is store-bought potting mix a good substitute for garden soil?
Not always! Potting mixes are lightweight and drain fast, while garden soil needs weight and water retention. Use potting mix for containers, but amend it with 10% compost + 10% sand to mimic garden soil’s texture for in-ground plants.
How do I fix compacted or clay-heavy garden soil?
Break up clay by adding organic matter (compost or peat moss) and gypsum (10 lbs per 100 sq ft). For compaction, till in coarse sand or perlite and avoid walking on beds. Let rainwater naturally aerate the mix over time.
Can I reuse old garden soil for new mixes?
Yes, but sterilize it first! Bake soil in the oven at 200°F for 30 minutes to kill pests/diseases, or solarize it by covering with clear plastic for 4–6 weeks. Mix with fresh compost to replenish nutrients.
What should I avoid when mixing garden soil?
- Fresh manure—it can burn plants (use aged compost instead).
- Synthetic chemicals—they disrupt microbial life. Opt for organic amendments.
- Over-tilling—it destroys soil structure; hand-mix gently.
Wrapping up and next steps
Creating the perfect garden soil mix with air-pocket-rich blend is your first step toward a thriving garden! 🌱 By balancing organic matter, sand, and nutrients, you’ll give your plants the room to grow strong roots and flourish.
Whether you’re a beginner or a seasoned gardener, this mix is a game-changer for healthier, more resilient plants.
Now that you’re equipped with the knowledge, roll up your sleeves and get mixing! Start small—test your blend in a corner of your garden—and watch your plants thank you with vibrant blooms and bountiful harvests. Happy gardening! 🌿