
Pests
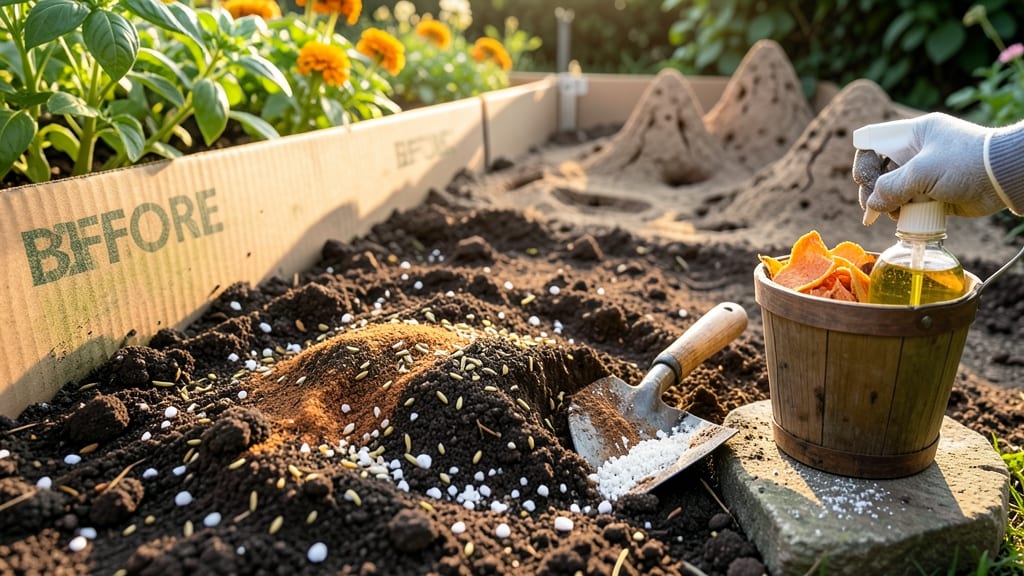
How to get rid of termites in soil naturally can turn your hard work into a buffet for hungry pests—until you use these natural methods. 🌱 I’ve battled them in my own yard, and the secret weapon? Beneficial nematodes that hunt termites without harming your plants or the soil’s health. No harsh chemicals, just a biological solution that works underground where termites hide.
The key is timing and technique—apply nematodes when soil is moist (not soggy) and temperatures stay between 60-85°F. A 1-gallon sprayer and 10,000 nematodes per square foot (like Steinernema carpocapsae) is all you need.
Water lightly after application to help them move through the soil and find their termite targets within 24-48 hours.
What you’ll get is a termite-free zone without disrupting your garden’s ecosystem. Plants stay healthy, soil structure improves, and you avoid the long-term damage of chemical treatments. The best part? Nematodes multiply naturally, giving you ongoing protection for 3-6 months after application.
Works for vegetable gardens, flower beds, and even lawns—just adjust the nematode dose for larger areas. Here’s how to make it work for your space without the guesswork.
📚 In This Guide
- What you need
- Instructions
- Tips and common mistakes
- Wrapping up and next steps
What you need
- ● Beneficial nematodes (Heterorhabditis bacteriophora or Steinernema carpocapsae) – 25-50 million live nematodes per gallon of water (check product labels for exact ratios).
- ● Watering can or garden sprayer – 5-10 gallon capacity (with a fine mist nozzle for even distribution).
- ● Water – Enough to fill your sprayer or watering can (use dechlorinated water if possible—chlorine can harm nematodes).
- ○ Protective gloves and eyewear – For handling nematodes and soil (optional but recommended).
- ● Garden trowel or shovel – For creating small trenches or loosening soil (if treating larger areas).
- ● Measuring cup or scale – To ensure accurate nematode dosage.
- ● Cardboard or mulch – To create a moisture-retaining barrier after application.
- ● Soil moisture meter – To check soil hydration levels (nematodes thrive in moist conditions).
- ● Neem oil or diatomaceous earth – As a complementary natural pest deterrent (apply after nematodes).
- ● Timer or spray gauge – For consistent application rates in larger areas.
Natural termite control: how to use beneficial nematodes for soil treatment
Termites in your soil don’t need harsh chemicals—these microscopic allies will handle them organically.
🌱 Step 1: Identify Termite Activity and Prepare the Soil
First, confirm you’re dealing with soil-dwelling termites (not drywood types) by looking for mud tubes, frass piles, or hollow-sounding wood near the ground. Clear away debris and loosen the top 6 inches of soil with a garden fork—this helps nematodes penetrate deeper. I like to work on a dry, slightly cloudy day when the soil is moist but not soggy.
Termites thrive in compacted, moist soil, so aeration is key. If your soil feels dense when pressed, add 1 inch of coarse sand or perlite to improve drainage. Avoid working the soil when it’s waterlogged—nematodes need oxygen too, and soggy conditions will stress them before they even get to work.
💧 Step 2: Apply Beneficial Nematodes at the Right Time
Purchase Steinernema carpocapsae or Heterorhabditis bacteriophora nematodes from a reputable supplier—they’re sold as a liquid concentrate. Mix the nematodes with 1 gallon of cool, dechlorinated water (let tap water sit overnight or use distilled) and stir gently. Apply immediately after mixing, as nematodes have a 24-hour window of peak effectiveness once hydrated.
Use a watering can with a fine rose attachment to evenly distribute the solution over the infested area. Focus on 6-inch diameter circles around termite activity zones, watering until the soil is damp but not saturated. The goal is to create a moist environment that attracts termites while keeping nematodes active—think of it as a microbial ambush.
☀️ Step 3: Maintain Ideal Conditions for Nematode Success
Nematodes work best in soil temperatures between 60-85°F. If your climate runs cooler, apply them in late spring when soil warms consistently. Avoid applying during extreme heat or drought—nematodes dry out quickly, and termites will retreat deeper into the soil where the treatment can’t reach.
Keep the treated area lightly moist for 7-10 days after application. You’ll know it’s right when the top inch of soil stays damp but doesn’t pool water. Overwatering can drown the nematodes, while too little moisture lets termites escape. Mulch with 2-3 inches of straw or wood chips to help retain moisture and create a hospitable environment for both nematodes and their termite prey.
⏰ Step 4: Monitor and Reapply as Needed
Termite activity should decline within 2-4 weeks—look for fewer mud tubes and less frass. If you still see signs after a month, reapply the nematodes following the same steps. I’ve found that repeat applications in early summer and late fall create a seasonal barrier that keeps termites in check long-term.
Here’s the thing—nematodes don’t provide permanent protection like chemical treatments. To maintain results, combine this method with termite-resistant plants (like marigolds or lemongrass) and regular soil checks. If termites return after a year, it’s time to reassess your garden’s moisture levels or consider other organic options like diatomaceous earth for surface barriers.
Tips & tricks for effective natural termite control
Between us, nematodes are nature's secret weapon against termites—but only if you set them up for success. These small details make all the difference between a temporary fix and long-term protection.
Timing is Everything: The 24-hour window after mixing nematodes with water is non-negotiable. I've learned this the hard way—once these microscopic warriors are hydrated, their effectiveness drops dramatically. Keep your mixing station near the treatment area and work efficiently. For extra insurance, prepare your water the night before (as the instructions suggest) and store it in a cool, dark place to prevent any premature stress on the nematodes.
Soil Preparation Matters: That 6-inch soil loosening in Step 1 isn't just about aesthetics—it creates the perfect highway for nematodes to reach termite colonies. Use a garden fork to break up compacted layers gently, almost like fluffing a pillow. If your soil feels particularly dense, work in that 1 inch of coarse sand or perlite while loosening. This improves drainage while creating air pockets that nematodes need to thrive. Think of it as creating a five-star hotel for your microscopic helpers.
Moisture Management: The 7-10 day moisture window after application requires attention to detail. I test soil moisture by pressing my finger about an inch deep—if it comes out clean but the soil holds its shape, you're golden. Too dry? Add a light misting. Too wet? Let it dry slightly and mulch more heavily. Remember, nematodes need moisture to move efficiently, but they can't survive in standing water. This balance is what transforms your treatment area into a termite trap rather than a wasteland.
Seasonal Strategy: The 60-85°F soil temperature range is crucial, but don't let perfect conditions stop you from acting. If your spring arrives late, you can still apply nematodes when soil reaches 60°F—just be prepared for slightly slower results. For fall applications, aim for late September when nights cool but days still provide warmth. This seasonal timing creates a barrier effect that termites can't easily break through, giving you that long-term protection the instructions mention.
Pro Tips for Get Rid Of Termites In Soil Naturally
- Between us, nematodes are nature's secret weapon against termites—but only if you set them up for success. These smal...
- Timing is Everything: The 24-hour window after mixing nematodes with water is non-negotiable. I've learned this the h...
- Soil Preparation Matters: That 6-inch soil loosening in Step 1 isn't just about aesthetics—it creates the perfect hig...
Frequently asked questions
Got questions about natural termite control?
You’re not alone! Here are some of the most common concerns—and straightforward answers—to help you tackle termites in your soil without harsh chemicals.
Can I use nematodes if my soil is too dry?
Nematodes thrive in moist soil, so if yours is dry, give it a good watering first (but avoid waterlogging). Apply nematodes in the early morning or evening when humidity is high. If your soil stays bone-dry, consider alternative methods like diatomaceous earth or neem oil until conditions improve.
How long does it take to see results with natural methods?
Patience is key! Nematodes can take 4–6 weeks to fully eliminate a colony, while other natural remedies (like orange oil or borax) may show effects in 1–2 weeks. Reapply treatments every 3–4 months for long-term prevention. Monitor termite activity closely—if you see mud tubes or damaged wood, act fast!
Are nematodes cost-effective compared to chemical pesticides?
A single packet of nematodes (covering ~25 sq ft) costs $10–$20, while chemical treatments can run $500+ for professional applications. Plus, nematodes are safer for pets, kids, and plants. Think of them as a one-time investment with zero harmful side effects—win-win!
Will citrus peels or orange oil really kill termites?
Yes! Both contain d-limonene, a compound toxic to termites. Soak citrus peels in water for a week, then spray the solution around your foundation or mix orange oil with water (1:1 ratio) for a potent termite repellent. Reapply every 2–3 weeks for best results—termite colonies rebuild fast!
What if termites keep coming back after treatment?
Persistent termites often mean new colonies nearby or untreated entry points. Try a combination approach: apply nematodes + seal cracks with sand or caulk. If the problem worsens, inspect for moisture issues (termite magnets!) or consider professional organic pest control for a deeper dive.
Are there any plants that repel termites naturally?
Plant mint, lemongrass, or catnip near your home—their strong scents deter termites. Marigolds and chrysanthemums also work as natural barriers. Bonus: These plants boost your garden’s beauty and pest protection!
Wrapping up and next steps
Termites in your soil don’t have to be a nightmare—with natural nematodes and the right techniques, you can reclaim your yard without harsh chemicals! 🌱 These microscopic allies are safe, eco-friendly, and highly effective when applied correctly.
Start by assessing your soil, preparing the area, and releasing the nematodes at the right time for maximum impact.
Now that you’re armed with knowledge, take action today! Monitor your soil regularly, keep moisture levels balanced, and repeat treatments if needed. Your termite-free yard is just a few steps away—go for it! 🚀