
How To
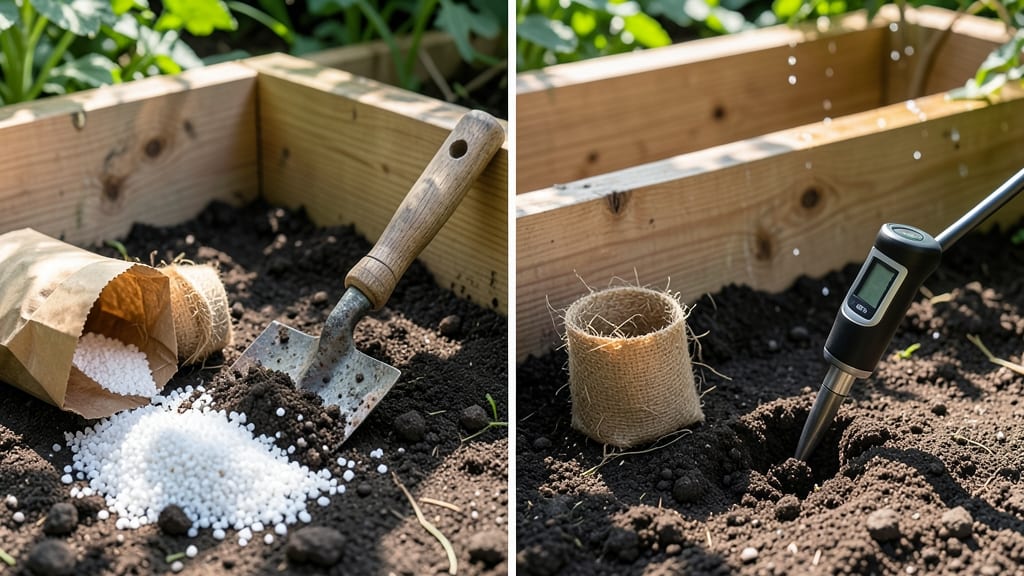
Want to increase soil drainage in that heavy, waterlogged clay? I’ve turned my once-soggy garden into a well-draining paradise—and you can too, in just a few hours. The key isn’t digging in sand (that’s a myth) but breaking up compaction and adding the right organic matter.
My tomatoes and peppers now thrive where they once struggled, thanks to these fast, science-backed fixes that work in any yard.
Start with compost or aged manure—it’s the secret weapon. Mix in 2-3 inches of organic matter into the top 6 inches of soil, then lightly till or fork it in. For stubborn clay, add coarse sand (like builder’s sand) or perlite to improve structure without clumping.
If you’re planting raised beds, fill them with a mix of 60% topsoil, 30% compost, and 10% perlite or vermiculite for instant drainage.
You’ll see the difference immediately: water pools less, roots stay oxygenated, and plants grow stronger and faster. Even my struggling hostas bounced back after just one season of amended soil.
The best part? These fixes last for years, reducing the need for annual soil prep. For clay-heavy spots, consider swales—shallow trenches that redirect water naturally while keeping roots moist.
Pro tip: Test your progress by digging a hole, filling it with water, and timing how long it drains. Aim for under 30 minutes—that’s the sweet spot for most plants.
Over time, your soil will lighten up, and you’ll wonder why you waited so long to fix it. Let’s get those roots breathing again!
📚 In This Guide
- What you need
- Instructions
- Tips and common mistakes
- Wrapping up and next steps
What you need
- ● Organic Matter: Compost (1–2 cubic yards per 100 sq. ft.) – boosts drainage while enriching soil
- ● Peat moss or coconut coir (5–10 bags) – lightens heavy clay
- ○ Leaf mold or well-rotted manure (optional, 1–2 bags) – adds structure naturally
- ● Inorganic Amendments: Coarse sand (50–70 lbs per 100 sq. ft.) – use builder’s sand (not fine beach sand!)
- ● Perlite or vermiculite (10–20 lbs) – improves aeration and moisture control
- ○ Gravel or crushed stone (1–2 inches deep, optional) – for deep drainage layers
- ● Tools: Garden fork or broadfork (essential for aerating clay without compacting)
- ● Shovel and spade (for mixing amendments)
- ● Wheelbarrow (to haul materials)
- ● Rake (for leveling and smoothing)
- ● Garden hose with spray nozzle (for testing drainage post-project)
- ● Soil pH test kit – check if your clay is acidic (needs lime) or alkaline (needs sulfur)
- ● Mulch (straw, wood chips, or pine needles) – slows water absorption over time
- ● Drainage pipes or French drain supplies – for severe waterlogging issues
- ● Garden gloves and knee pads – because comfort matters!
Instructions for improving soil drainage in heavy clay gardens
Here’s how to transform stubborn clay soil into well-draining ground—no heavy machinery required.
Test Your Soil’s Current Drainage
Dig a hole 6 inches deep and fill it with water. If it drains in less than 4 hours, your soil has moderate drainage. If it takes longer or pools at the bottom, you’re dealing with heavy clay. I like to do this test in multiple spots—clay can vary even within a small yard.
Press the soil with your fingers after it’s dry. If it forms a hard, tight ball that cracks when dropped, that’s your confirmation: you’ve got clay. This test tells you exactly where to focus your efforts—no guesswork.
Amend the Soil with Organic Matter
Spread a 2-3 inch layer of compost or well-rotted manure over the garden bed. Work it into the top 6 inches of soil using a broadfork or tiller. Organic matter breaks up clay particles and creates air pockets, which is exactly what heavy soil needs.
Don’t skimp on this step—clay soil needs more organic matter than sandy soil to improve. If you’re short on compost, mix in 1 part peat moss or coconut coir to 3 parts soil. You’ll see the difference immediately when the soil loosens under your hands.
Add Coarse Amendments for Long-Term Structure
Mix in 1-2 inches of coarse sand or perlite into the top 6-12 inches of soil. The key here is using coarse materials—fine sand won’t help and can make drainage worse. I like to blend it in during the same tilling session as the compost for even distribution.
For larger areas, consider installing French drains or gravel trenches along low spots. These work like underground gutters, directing water away from plant roots. You’ll know it’s working when water runs off the surface instead of pooling.
Create Raised Beds for Problem Areas
In the worst clay spots, build 12-18 inch high raised beds filled with a mix of 50% topsoil, 30% compost, and 20% perlite or sand. This gives roots room to grow without battling compacted clay below. Raised beds also warm up faster in spring, giving plants a head start.
Line the bottom with cardboard or landscape fabric to prevent weeds from invading. Water these beds more frequently at first—they’ll dry out faster than the surrounding clay soil. You’ll notice healthier plants almost immediately, with fewer signs of root rot.
Maintain Drainage with Mulch and Smart Watering
Apply a 3-4 inch layer of wood chips or straw mulch around plants to prevent water from pooling at the surface. This also keeps soil temperatures stable and reduces evaporation. Replenish mulch annually—it breaks down over time and loses effectiveness.
Water deeply but infrequently—1-2 times per week—giving the soil time to dry between waterings. You’ll know you’re doing it right when the top 2 inches of soil feel dry before the next watering. Overwatering undoes all your drainage improvements by compacting the soil again.
Tips & tricks for transforming heavy clay soil
These quick strategies will help you achieve better drainage without the guesswork—so you can start planting sooner.
Soil Test Precision: When doing your 6-inch deep drainage test in Step 1, use a clear container to measure water levels rather than eyeballing it. The 4-hour mark is your target—if water disappears faster, you're good to go. If it lingers, that's your sign to focus on amendments. I've found testing in multiple spots reveals hidden variations even within small yards.
Organic Matter Layering: In Step 2, don't just spread compost—work it into the soil in thin layers as you go. Start with the top 2 inches, then gradually work down to the full 6 inches. This prevents clumping and ensures even distribution. For stubborn clay, I like to add a second 1-inch layer of compost after the initial tilling to really break up those tight particles.
Coarse Amendment Strategy: When mixing in your 1-2 inches of coarse sand or perlite in Step 3, think of it like adding gravel to a driveway—it creates channels for water to flow through. Use a rake to distribute it evenly before tilling, and avoid fine particles which can actually worsen drainage. I've seen dramatic improvements when blending perlite with compost during the same tilling session.
Raised Bed Height: For your 12-18 inch raised beds in Step 4, don't skimp on height—taller beds give roots more room to escape compacted clay below. I've found 16-inch height works best for most vegetables, giving that extra buffer while still being manageable to build. The extra height also means you can use the surrounding soil for other purposes without worrying about drainage issues.
Pro Tips for Increase Soil Drainage
- These quick strategies will help you achieve better drainage without the guesswork—so you can start planting sooner.
- Soil Test Precision: When doing your 6-inch deep drainage test in Step 1, use a clear container to measure water levels rather than eyeballing it.
- Organic Matter Layering: In Step 2, don't just spread compost—work it into the soil in thin layers as you go.
Frequently asked questions
How quickly can I expect to see improved drainage after adding amendments?
Most organic amendments like compost or sand take a few weeks to a few months to fully integrate and improve drainage. Inorganic options like gypsum or perlite work faster (within days to weeks), but results depend on soil depth and rainfall. Test drainage by digging a small hole, filling it with water, and timing how long it takes to drain—aim for under 30 minutes.
Is it okay to mix sand into heavy clay soil?
Yes, but use coarse sand (like builder’s sand) in small amounts—about 10-20% of the soil mix. Fine sand can compact further, worsening drainage. For best results, combine sand with compost or peat moss to improve structure. Avoid river sand, which may contain silt that clogs pores.
When is the best time of year to improve soil drainage?
The ideal time is early spring or fall, when soil is workable but not frozen. Avoid heavy rainfall periods, as water can wash amendments away. If your garden is waterlogged right now, focus on surface-level fixes like raised beds or temporary drainage channels until you can amend the soil properly.
What if my soil still drains poorly after adding amendments?
Try these troubleshooting steps:
- Test soil depth: Amendments only work if mixed into the top 6-12 inches of soil. Rent a tiller or dig deeper.
- Check for compaction: Use a soil probe or screwdriver to test for hardpan. Aerate with a garden fork or hire a professional.
- Drainage layers: For severe cases, add a 3-inch layer of gravel or crushed stone beneath amended soil in raised beds.
Are there budget-friendly alternatives to expensive soil amendments?
Try these cost-effective options:
- Compost: Free from yard waste or cheap at garden centers.
- Leaf mold: Collect fallen leaves in a bin for 6–12 months to create a free, organic conditioner.
- Pine bark fines: A byproduct of lumber mills, often sold cheaply in bulk.
- Crushed eggshells: Add calcium and improve structure (sterilize first by baking).
Wrapping up and next steps
Improving soil drainage in heavy clay gardens is totally doable—just start small, stay consistent, and watch your plants thrive! 🌱 Whether you’re adding organic matter, adjusting your watering habits, or installing drainage solutions, every step makes a difference. Your next move? Pick one technique from this guide, test it in a small area, and observe the results before scaling up.
With patience and the right approach, you’ll transform that soggy soil into fertile, well-draining ground. Happy gardening!