
How To
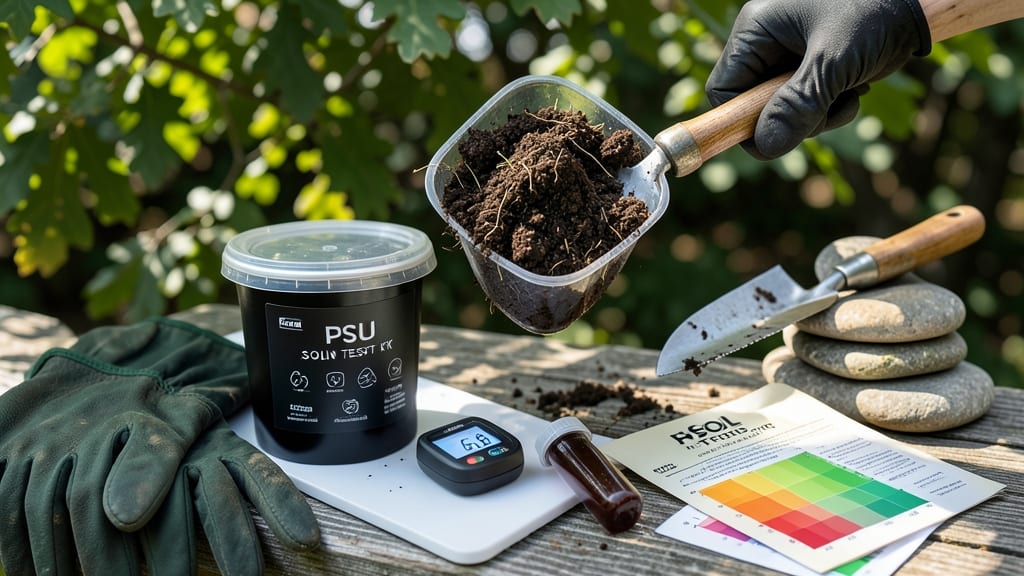
The PSU soil test reveals what your garden’s struggling to tell you. 🌱 I’ve used mine to turn my compacted clay into a thriving vegetable patch—starting with just a few dollars’ worth of soil and a mail-in kit.
This isn’t some vague “add compost” advice; it gives you exact numbers for pH, nutrients, and organic matter so you can fix problems before they stunt your plants.
Most gardeners only check pH, but the full test also shows nitrogen, phosphorus, potassium, and micronutrient levels—plus whether your soil is too sandy, too dense, or lacking the microbial life that breaks down nutrients.
My first test showed my garden was starving for phosphorus, which explained why my tomatoes kept blooming but never fruiting. Once I amended with bone meal, those plants exploded with production.
You’ll get a detailed report with specific recommendations, like whether to lime your soil, add sulfur, or switch to organic fertilizers. Even experienced gardeners use these tests to fine-tune their approach—my neighbor’s roses thrived after we both adjusted our pH based on the same results.
The best part? It’s cheaper than therapy and way more productive.
Works for vegetable gardens, lawns, or flower beds—just follow the kit instructions and send your sample. Here’s how to turn those numbers into a garden that finally performs the way you’ve been hoping for.
📚 In This Guide
- What you need
- Instructions
- Tips and common mistakes
- Wrapping up and next steps
What you need
- ● Soil Sample Collection Kit: A clean, dry plastic bucket or bag (at least 1-gallon capacity)
- ● Disposable gloves (to keep your samples contaminant-free)
- ● A small trowel or shovel (for digging)
- ● PSU Soil Test Kit or Lab Submission Supplies: Official blank">PSU Soil Test Kit (available online or via mail) OR_
- ● A pre-addressed, self-sealing mailing bag (if submitting to the lab directly)
- ● Labeling Supplies: Waterproof markers or labels (to mark your samples)
- ● Small plastic bags or containers (for individual sample sections, if testing multiple areas)
- ○ Measuring Tools (Optional but Helpful): A ruler or measuring tape (to ensure 6-8 inches deep samples)
- ● A fine-mesh sieve (to remove rocks/debris, ¼-inch mesh size recommended)
- ● A soil moisture meter (to check ideal testing conditions—soil should be moist but not soggy)
- ● A camera or notebook (to document garden layout or note observations before testing)
- ● pH strips (for a quick pre-test estimate of your soil’s acidity/alkalinity)
- ● A small scale (to weigh samples if following a specific PSU protocol)
Step-by-step instructions for conducting a PSU soil test
Here's how to get accurate results that reveal what your garden truly needs.
🧪 Step 1: Collect Representative Soil Samples
Use a clean trowel or soil probe to gather samples from 6-12 inches deep in multiple spots across your garden. Avoid areas with fresh manure, mulch, or recent fertilizer applications—these skew results. For a 4-sample test, divide your garden into quadrants and take 1-2 tablespoons of soil from each quadrant, mixing them in a clean bucket.
Remove any debris like rocks or plant material. The goal is pure soil that represents your garden's overall health. If testing a raised bed, sample from the center and edges separately since drainage varies. Break up any clumps with your hands—you want fine, uniform particles for accurate testing.
📝 Step 2: Prepare the Sample for Testing
Spread the collected soil on a clean sheet of newspaper or paper towel to air-dry for 24-48 hours. This removes excess moisture that could interfere with test accuracy. Once dry, break up any remaining clumps with your fingers—no larger than a pencil eraser—to ensure even testing.
Fill the provided PSU soil test kit bag halfway with the dried, crumbled soil. Seal the bag tightly and label it with your garden location and date. The test kit will include specific instructions for sample size, but never exceed the marked fill line—overfilling can cause spillage or inaccurate readings.
📊 Step 3: Follow the Test Kit Instructions Precisely
Most PSU soil test kits include a color chart or digital reader for pH, nutrient levels, and organic matter. Start by measuring 1 tablespoon of dried soil into the test tube or reaction chamber (exact amounts are listed in your kit). Add the specified reagents—usually one dropperful at a time—and swirl gently to mix.
Compare the resulting color to the provided chart within 30 seconds to 2 minutes (timing varies by test). For pH, you'll see a gradient from red (acidic) to blue (alkaline). For nutrients like nitrogen or phosphorus, note the intensity—darker colors indicate higher levels. Record each reading immediately, as colors fade over time.
📈 Step 4: Interpret Results and Plan Amendments
Use the PSU soil test interpretation guide to match your readings to recommended ranges. For example, ideal pH for most vegetables is 6.0-7.0—if your test shows 5.5, you’ll need to raise it with lime. Nutrient levels like phosphorus (P) or potassium (K) below the mid-range suggest a balanced fertilizer application.
Don’t panic over slight deviations—soil is dynamic. Focus first on correcting pH imbalances (too acidic or alkaline) before adjusting nutrients. For instance, if your soil tests low in organic matter, mix in 2-3 inches of compost before planting. Always re-test after amendments to track progress.
⏰ Step 5: Retest After 3-6 Months for Progress
Mark your calendar to retest soil after your first round of amendments. This helps you see what’s working—maybe the pH adjusted perfectly, but nitrogen levels still lag. Keep a simple logbook noting dates, amendments used, and test results. Over time, you’ll spot patterns (e.g., "my soil always tests low in potassium after tomatoes").
Retesting also reveals seasonal fluctuations—spring rains may lower pH temporarily, while summer heat can deplete nutrients faster. The more you test, the more you’ll understand your garden’s unique needs. Think of it like a health checkup for your soil!
Tips & tricks for perfect PSU soil testing
These simple strategies will help you get the most accurate results from your soil test every time.
Sampling Strategy: For raised beds or containers, take separate samples from the center and edges—they often have different moisture levels and nutrient profiles. I've found that mixing equal parts from different spots gives a truer picture of your garden's overall health than just sampling one area. This is especially important if you notice different plant growth patterns in various sections.
Drying Time Tip: The 24-48 hour drying period is crucial—don't rush it! I learned this the hard way when my first test came back with inconsistent results because I tried to speed up the process. Use a fan on low setting to help moisture evaporate faster if you're short on time, but still let it dry completely to prevent color interference during testing.
Color Comparison: When comparing colors in Step 3, work quickly but don't rush—the 30 seconds to 2 minutes window is ideal. Natural light works best for color matching, so avoid testing near windows with colored glass or under fluorescent lighting. I keep a small white card nearby to place behind my test tube, which makes color comparison much easier against the neutral background.
Interpretation Insight: The ideal pH range of 6.0-7.0 is a good starting point, but some plants actually prefer slightly different conditions. For example, blueberries thrive in more acidic soil (pH 4.5-5.5), while asparagus prefers neutral to slightly alkaline (pH 6.5-7.5). Always check what you're planning to grow before making adjustments based on the test results.
Pro Tips for Psu Soil Test
- These simple strategies will help you get the most accurate results from your soil test every time.
- Sampling Strategy: For raised beds or containers, take separate samples from the center and edges—they often have different moisture levels and nutrient profiles.
- Drying Time Tip: The 24-48 hour drying period is crucial—don't rush it!
Frequently asked questions
Got questions about PSU soil tests? You’re not alone!
Here are answers to the most common queries to help you get the most out of your garden’s health check.
How often should I conduct a PSU soil test?
For most gardens, test your soil every 1–2 years to monitor pH and nutrient levels. If you notice poor plant growth, discoloration, or pests, test sooner. Amending soil after heavy use (like planting new beds or fertilizing) also warrants a check. Pro tip: Keep records to track changes over time!
Are PSU soil tests expensive? What’s the cost?
The cost varies, but PSU’s soil testing lab typically charges $15–$20 per sample for basic tests (pH, nutrients, organic matter). DIY test kits (like LaMotte or MySoil) range from $10–$30. Save money: Split costs with neighbors or test multiple samples together!
How long does it take to get results?
PSU’s lab usually returns results in 7–10 business days via email or mail. For faster answers, some private labs offer 24–48 hour turnaround (for a fee). Plan ahead: Test in early spring to adjust soil before planting season!
Can I use a home soil test kit instead?
Yes! Home kits (like RapidTest or Luster Leaf) give quick pH readings (1–5 minutes) but lack nutrient depth. They’re great for basic checks (e.g., acidic vs. alkaline soil) but may miss micronutrient deficiencies. For precise recommendations, combine home tests with PSU’s lab for accuracy.
My PSU test showed high phosphorus. What now?
High phosphorus (common in lawns or over-fertilized gardens) can lock out other nutrients like zinc or iron. Fix it: Avoid phosphorus-heavy fertilizers (like bone meal) and use compost or manure to balance levels. Test again in 6 months to monitor progress. Warning: Never ignore high salinity—it stresses plants!
What if my soil test results are confusing?
PSU’s reports include interpretive guides, but they can still feel overwhelming. Ask for help: Contact the PSU Soil Testing Lab or your local Master Gardener for free advice. They’ll translate numbers into actionable steps!
Wrapping up and next steps
Understanding your garden’s health through a PSU soil test is the first step toward a thriving, vibrant landscape! 🌱 By analyzing pH, nutrients, and organic matter, you’ve gained actionable insights to fine-tune your gardening approach—whether that means adjusting fertilizers, improving drainage, or boosting microbial life.
Don’t let this knowledge gather dust; put it to work!
Your next logical step? Take action! Amend your soil based on the results, monitor changes over time, and enjoy the rewards of a healthier garden. Happy growing—your plants will thank you! 🌿