
How To
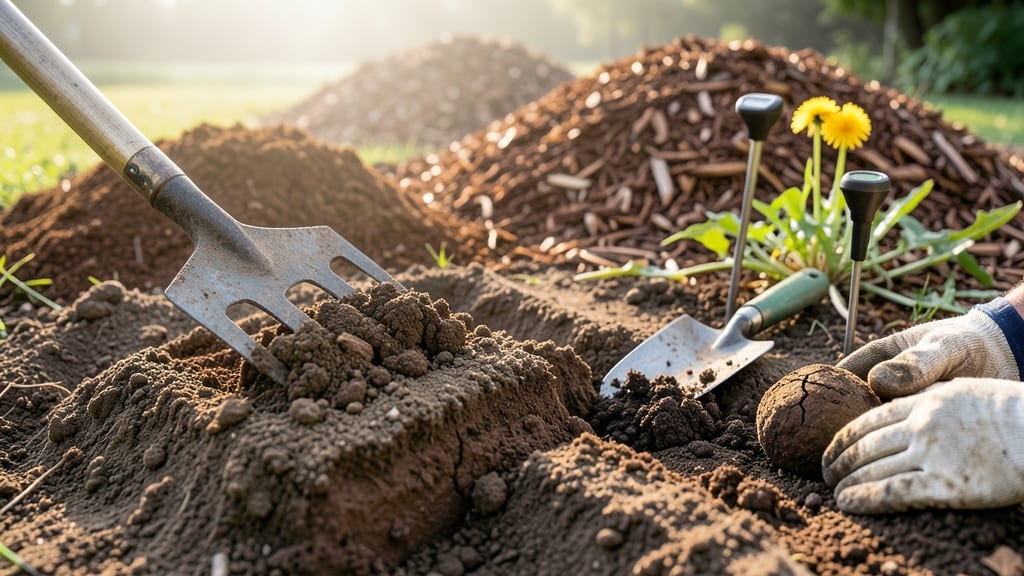
Reducing soil compaction transforms your garden from a struggle to a thriving ecosystem. 🌱 The moment I saw roots circling instead of growing deep, I knew something had to change—my tomatoes were stunted, and my lawn felt like concrete.
The fix starts with simple tools: a broadfork, organic matter, or even a DIY aerator. These break up dense layers without destroying soil structure. I’ve tried everything from tilling (too aggressive) to adding compost (too slow)—the right balance makes all the difference.
Within weeks, roots spread freely, water drains properly, and plants grow like they’re on steroids. The soil feels light, almost fluffy, and weeds have a harder time taking hold. It’s the kind of change that makes gardening feel effortless again.
Works for vegetable beds, lawns, or even container gardens—just adapt the method to your space. Let’s get those roots breathing again!
📚 In This Guide
- What you need
- Instructions
- Tips and common mistakes
- Wrapping up and next steps
What you need
- ● Manual or mechanical aerator (spike, core, or slit type): Manual: Handheld spikes or a simple garden fork (for small areas).
- ● Mechanical: Core aerator (rent or buy; ideal for lawns or large gardens).
- ● Topsoil or compost (2–4 inches, depending on compaction severity): High-quality organic matter (e.g., composted leaves, aged manure, or peat moss).
- ● Quantity: ~1 cubic yard per 100 sq. ft. for moderate compaction.
- ● Rake or garden fork (for spreading and mixing materials).
- ● Water source (hose or sprinkler with a gentle setting).
- ● Gloves and knee pads (for comfort and protection).
- ○ Soil test kit (optional but helpful) to check pH and nutrient levels post-aeration.
- ● Gypsum or lime (if soil is clay-heavy or alkaline; follow package rates).
- ● Bio-stimulants or mycorrhizal fungi to boost root health.
- ● Lawn roller (lightweight) to gently settle topsoil after spreading.
- ● Broadcast spreader for even distribution of compost or seeds.
- ● Soil probe or screwdriver to test compaction depth before/after.
Step-by-step instructions for aerating compacted soil
Here’s how I break down the process—no heavy machinery needed, just targeted techniques for looser, healthier soil.
🪴 Step 1: Test Soil Compaction Before You Begin
Press your thumb into the soil about 2 inches deep. If it feels hard and resists penetration, your soil is compacted. I also do the screwdriver test: drive a 6-inch deck screw into the ground—if it won’t go past 1 inch without force, aeration is your next step. Compacted soil repels water and roots alike, so knowing the severity helps you choose the right method.
Walk your garden beds and mark areas with visible signs: water pooling, thin grass, or bare patches. These spots need the most attention. I use a garden flag to tag them—it’s easier to focus your efforts where plants struggle the most.
✂️ Step 2: Choose the Right Aeration Tool for Your Soil Type
For lawns, a manual spike aerator (the fork-style tool) works best for small areas. I push it 6 inches deep and wiggle it side-to-side to create holes 3-4 inches apart. For larger lawns, a core aerator (rental machines pull soil plugs) is faster but requires more effort. If you’re working in garden beds, a tilling fork gives you precision—just lift and wiggle to break up compacted layers without disturbing roots.
Here’s the thing—don’t over-aerate. Too many holes can destabilize the soil structure. I aim for 10-12 holes per square foot in lawns and 2-3 inches between holes in garden beds. You’ll see the difference immediately when water drains instead of pooling.
☀️ Step 3: Aerate at the Right Time for Maximum Benefit
Timing matters. Aerate lawns in early fall or spring when soil is moist but not soggy—65-75°F is ideal. For garden beds, focus on late summer or early spring before planting season. I test moisture by squeezing a handful of soil; it should hold together but not drip water. Aerating dry soil creates more dust than improvement.
After aerating, water deeply to settle the soil and encourage roots to grow into the new spaces. You’ll notice water soaking in faster than before—that’s your sign it’s working. For lawns, I follow up with a light layer of compost to fill the holes and add organic matter.
🌱 Step 4: Top-Dress with Organic Matter to Maintain Loose Soil
Spread a ¼-inch layer of compost over the aerated area and lightly rake it in. This isn’t just about filling holes—it’s about feeding the soil microbes that break down compaction over time. For lawns, I mix in a slow-release fertilizer> to give roots a nutrient boost. In garden beds, a 2-inch layer of mulch> helps retain moisture and prevents future compaction.
Don’t skip this step. Aeration alone won’t fix compaction long-term—it’s the organic matter that keeps the soil loose and fertile. I revisit compacted areas every 1-2 years with a light aeration and compost top-dressing to maintain the results.
💧 Step 5: Monitor and Adjust for Long-Term Success
Check your progress in 4-6 weeks. Dig a small hole and feel for improved texture—soil should be crumbly and easier to work with. If water still pools or plants struggle, repeat the aeration process. I also keep an eye on foot traffic; high-traffic areas (like lawn edges) may need more frequent aeration.
For garden beds, I rotate crops annually to prevent repeated compaction in the same spots. In lawns, I avoid heavy equipment (like mowers) when the ground is wet—this keeps compaction from creeping back in. With consistent care, your soil will stay loose, roots will thrive, and you’ll see stronger, healthier plants.
Tips & tricks for perfect soil aeration
These targeted techniques will help you transform dense soil into a thriving root environment—without overworking the ground.
Precision Tool Selection: For garden beds, a tilling fork gives you the most control—lift the fork 6 inches deep and wiggle it to break up compacted layers without disturbing nearby roots. I’ve found that using the fork at a slight angle helps create wider channels for root penetration. For lawns, a spike aerator works best when you push it down until the handle rests flat on the ground, ensuring consistent 3-4 inch spacing between holes.
Timing Secret: The 65-75°F window is ideal because soil at this temperature holds enough moisture to create clean holes without sticking to your tools. I’ve learned to check soil moisture by squeezing a handful—it should crumble slightly when pressed but not fall apart completely. If your soil feels dry, water it lightly the day before aerating to achieve optimal conditions.
Long-Term Strategy: Don’t stop after the initial aeration. I make it a habit to revisit compacted areas every 1-2 years with a light aeration and ¼-inch compost top-dressing. This maintains the loose structure while continuously feeding beneficial microbes. For high-traffic lawn areas, I schedule aeration in early fall when roots are actively growing but before winter dormancy sets in.
Visual Cues: After aerating, water the area deeply and observe how quickly it drains. Healthy aeration will show water disappearing within 10-15 minutes rather than pooling. I also check for improved plant vigor—thicker grass blades and fuller garden plants are clear signs your efforts are paying off. This visual feedback helps you gauge whether you need to repeat the process in problem areas.
Pro Tips for Reduce Soil Compaction
- These targeted techniques will help you transform dense soil into a thriving root environment—without overworking the...
- Precision Tool Selection: For garden beds, a tilling fork gives you the most control—lift the fork 6 inches deep and ...
- Timing Secret: The 65-75°F window is ideal because soil at this temperature holds enough moisture to create clean hol...
Frequently asked questions
Got questions about tackling soil compaction? You’re not alone!
Here are some of the most common queries—and straightforward answers—to help you get back to healthy, thriving soil.
What’s the best time of year to aerate my lawn or garden?
The ideal time depends on your climate and grass type. For cool-season grasses (like fescue or Kentucky bluegrass), aerate in early fall or spring when soil is moist but not soggy. Warm-season grasses (like Bermuda or Zoysia) do best in late spring to early summer. Avoid aerating during droughts or freezing temps—soil should be workable, not rock-hard!
Can I use a garden fork or shovel instead of a core aerator?
If you’re working in a small garden or have light compaction, a garden fork or broadfork is a budget-friendly alternative. Poke the tool into the soil at a 45-degree angle, wiggle it gently, and lift to create holes. For heavy compaction (like clay soil), rent a core aerator or repeat the process in multiple directions. Just be prepared for some elbow grease!
Will aerating help if my soil is mostly clay?
Yes—but clay soil needs extra love! Aerating breaks up compacted layers and lets organic matter (like compost) penetrate deeper. After aerating, top-dress with 1–2 inches of compost and water thoroughly. Over time, this improves drainage and root growth. For stubborn clay, consider gypsum or sand amendments (but test your soil first to avoid pH issues).
What should I do if worms or grubs come up after aerating?
Don’t panic—they’re actually a good sign! Aerating disturbs their tunnels, bringing them to the surface. If you see too many (especially grubs), it might signal overwatering or thatch buildup. Rake them into shaded areas to avoid bird damage. For prevention, reduce irrigation slightly and mow higher (3–4 inches) to encourage deep roots that deter pests.
Is renting an aerator worth it, or should I DIY?
It depends on your project size! For small lawns (under 500 sq. ft.), a manual aerator or garden fork works fine. For larger areas or severe compaction, renting a core aerator (or hiring a pro) saves time and ensures even coverage. Pro tip: Check local rental costs—many hardware stores offer discounts for weekly rentals. If DIYing, wear gloves and knee pads for comfort!
Wrapping up and next steps
Reducing soil compaction doesn’t have to be a daunting task—with the right tools and techniques, you can transform your soil into a thriving, root-friendly environment! 🌱 From aeration to organic amendments, every step you take strengthens your garden’s foundation for healthier plants and lusher growth.
Start small, stay consistent, and watch your efforts pay off in vibrant blooms and robust harvests.
Ready to take action? Pick one method from this guide and give it a try this weekend! Your future plants will thank you.