
How To
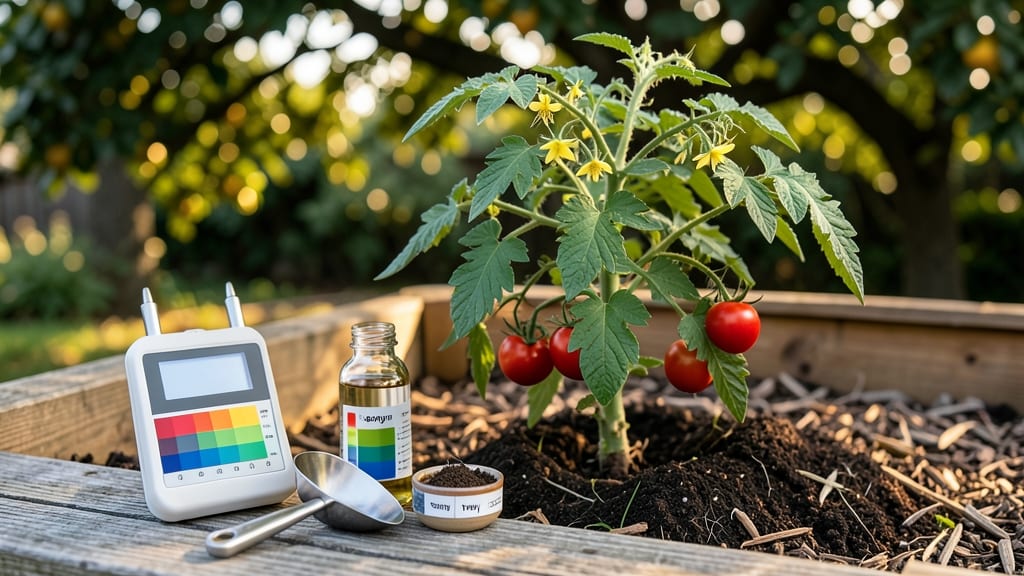
The optimal soil pH for tomatoes is between 6.0 and 6.8—the perfect balance for nutrient absorption and maximum fruit production.
Struggling with poor tomato yields? Your soil’s pH might be the hidden culprit—getting it just right can mean the difference between a handful of fruits and a bountiful harvest.
Too acidic or alkaline, and your 🍅 plants can’t access the nutrients they need, leading to stunted growth or even blossom end rot.
Most gardeners don’t realize how critical pH is until problems appear. Testing your soil is the first step, and adjusting it with simple amendments like lime (to raise pH) or sulfur (to lower it) can transform your harvest.
Below, I’ll walk you through the ideal range, how to test your soil, and the easiest ways to keep it in check all season long.
From preventing common pH-related issues to fine-tuning your soil for peak tomato performance, this guide covers everything you need to grow stronger plants and bigger, tastier fruits. Let’s get your soil just right!
What is the ideal soil pH range for tomato plants?
Tomatoes are one of the most popular garden vegetables, but their success hinges on a precise soil pH range. The ideal pH for tomatoes falls between 5.8 and 6.8, a slightly acidic to neutral range.
This isn't just a random number—it's the sweet spot where your plants can absorb essential nutrients like calcium, magnesium, and phosphorus efficiently. When pH strays too far from this range, nutrient deficiencies creep in, leading to stunted growth, poor fruit set, or even deadly diseases like blossom end rot.
Think of soil pH as the foundation of your tomato plant's health. A pH below 5.5 locks out critical nutrients, while a pH above 7.0 can cause iron and manganese deficiencies, turning leaves yellow between the veins.
Even a 0.5 pH deviation can reduce yields by up to 30%—meaning fewer tomatoes for your effort. That’s why understanding and maintaining the right balance is non-negotiable for serious gardeners.
Why does pH matter so much? Because it directly controls nutrient availability. For example, calcium—critical for preventing blossom end rot—becomes less available in acidic soils (pH < 5.8). Meanwhile, phosphorus, essential for root and flower development, thrives in the 5.8–6.8 range. Magnesium, another key nutrient, also becomes scarce if the pH drifts too high or too low. Without these nutrients, your tomatoes won’t grow strong, and your harvest will suffer.
Research from the University of Florida shows that tomatoes grown in soil with a pH of 6.5 produce 20% more fruit than those in soil at pH 5.0 or 7.0. The difference isn’t just about quantity—it’s about quality.
Tomatoes grown in the ideal pH range develop better flavor, thicker walls, and fewer blemishes. If you’ve ever tasted a homegrown tomato that’s bland or mealy, chances are its soil pH was off.
But here’s the catch: soil pH isn’t static. It shifts over time due to rain, organic matter breakdown, and even the nutrients your plants absorb. For example, heavy rainfall can temporarily lower pH, while adding compost or organic matter can raise it slightly.
That’s why regular soil testing—at least once a year—is a must. If you’re growing tomatoes in containers, pH can change even faster, so monitor it more frequently.
One common misconception is that all tomatoes thrive in the same pH range. While 5.8–6.8 is the general rule, some heirloom varieties or organic-growing systems might tolerate slight variations. However, for commercial or high-yield home gardens, sticking to the optimal range is your best bet.
Even a 0.2 pH shift can impact nutrient uptake enough to notice a difference in your harvest.
Let’s talk about what happens when pH gets out of whack. If your soil is too acidic (pH < 5.8), your tomatoes may suffer from calcium deficiency, leading to blossom end rot—the dreaded dark, sunken spots on the bottom of fruits.
On the other hand, if your soil is too alkaline (pH > 7.0), you’ll see iron chlorosis, where leaves turn yellow while veins stay green. Both conditions stress the plant and reduce its ability to produce fruit.
So, how do you keep your soil pH in check? Start by testing it before planting. If your pH is too low, you can amend it with pelletized lime or wood ash. If it’s too high, elemental sulfur or peat moss can help lower it.
But remember, changes take time—don’t expect overnight results. Patience and consistency are key to maintaining that 5.8–6.8 sweet spot for your tomatoes.
In my own garden, I’ve seen firsthand how a well-managed pH transforms tomato plants. Last season, my Sungold cherry tomatoes struggled with poor fruit set
How to test and adjust soil pH for tomato growth
Testing and adjusting your soil’s pH level is one of the most effective ways to boost tomato plant health and fruit production. Tomatoes thrive when soil pH falls between 6.0 and 6.8, but many gardeners unknowingly grow them in soil that’s either too acidic or alkaline.
I’ve learned the hard way—my first attempt at growing heirloom tomatoes failed because my soil was too acidic, causing stunted growth and poor yields. Let’s fix that together!
Before making any adjustments, you’ll need to determine your soil’s current pH. There are two main methods: DIY test kits (quick and affordable) or lab testing (more precise but pricier). I recommend starting with a DIY kit—it’s easy to use and gives you results in minutes.
Once you know your pH, you can adjust it using organic or chemical amendments like lime to raise pH or sulfur to lower it. Regular monitoring is key, especially if you’re growing tomatoes season after season.
🌱 Key Steps to Test and Adjust Soil pH for Tomatoes
-
1. Test Your Soil
Use a DIY pH test kit (like MySoil or Luster Leaf) or send a sample to a local agricultural extension office for lab testing. Collect soil from 6 inches deep and multiple spots in your garden. -
2. Interpret Results
Aim for a pH of 6.0–6.8. If your soil is below 6.0, it’s too acidic; if above 6.8, it’s too alkaline. Tomatoes struggle outside this range because nutrient uptake is impaired. -
3. Choose Amendments
For acidic soil (pH < 6.0), add pelletized lime (organic or synthetic). For alkaline soil (pH > 6.8), use elemental sulfur or peat moss. Work amendments into the top 6–8 inches of soil. -
4. Apply Amendments
Follow package instructions for application rates. For lime, I’ve found 1–2 pounds per 100 sq ft works well for most gardens. For sulfur, use 0.5–1 pound per 100 sq ft. Re-test soil after 2–3 months to confirm changes. -
5. Monitor and Maintain
Test soil every 6–12 months, especially if you notice yellowing leaves (possible nutrient deficiency) or stunted growth. Organic matter like compost or well-rotted manure can also help stabilize pH naturally.
If your soil is too acidic, lime is your best friend. I’ve used pelletized lime in my garden beds, and it’s worked wonders for my cherry tomatoes and beefsteak varieties. Just remember, lime takes time to work—don’t expect instant results.
For alkaline soil, sulfur is the go-to amendment, but it’s slower-acting, so plan ahead. I’ve also had success with pine needles or coffee grounds to lower pH naturally, though they’re less potent.
Seasonal adjustments are crucial, too. In spring, before planting, test your soil and amend it if needed. During the growing season, keep an eye on your plants. If leaves turn yellow between veins, it could signal chlorosis from poor iron uptake—a common issue in alkaline soils.
If you see purple stems, your tomatoes might be phosphorus-deficient, which can happen in acidic soil. Regular testing keeps these problems at bay.
Don’t forget about organic alternatives like compost or worm castings. These not only improve soil structure but also help buffer pH over time. I’ve noticed my tomato plants thrive more when I incorporate 2–3 inches of compost into the soil before planting.
It’s a slow process, but it pays off in the long run with healthier plants and bigger yields. The key is patience and consistency—your tomatoes will thank you!
Once you’ve got your pH in check, your tomato plants will reward you with stronger stems, healthier leaves, and more abundant fruit. Happy gardening—your future harvest is waiting! 🍅