
Trees
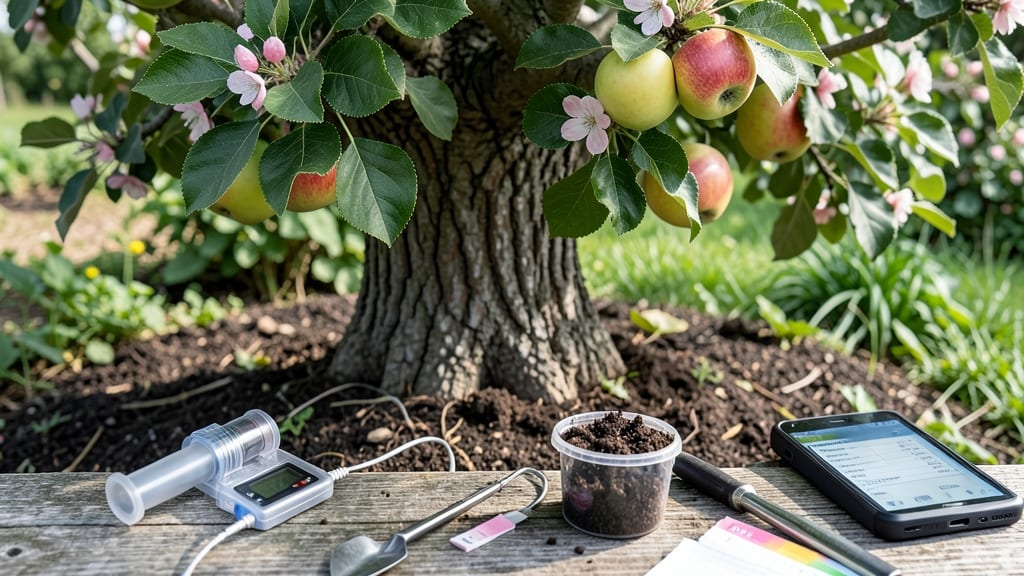
A soil test for apple trees 🍎 is the first step to unlocking bigger, sweeter harvests—because even the hardiest trees struggle when their soil is off-balance.
Picture this: you’ve planted your apple tree in the perfect spot, watered it religiously, and waited patiently for fruit—only to end up with small, tart apples or sparse yields. The culprit?
More often than not, it’s the soil. Apple trees demand well-drained, slightly acidic soil (pH 6.0–6.5), and without testing, you’re flying blind on nutrients, pH, and hidden deficiencies.
Testing your soil isn’t just about fixing problems—it’s about giving your tree the ideal growing conditions.
A simple at-home kit or lab analysis reveals whether your soil is too alkaline, lacking nitrogen, or starved of micronutrients like magnesium or zinc, all of which directly impact fruit size, flavor, and disease resistance.
In this guide, I’ll walk you through how to test your soil (DIY vs. lab methods), what the results mean, and exactly how to adjust pH or nutrients for a healthier, more productive apple tree—so you can finally enjoy that bushel of crisp, juicy apples you’ve been dreaming of.
How to conduct a soil test for apple trees (DIY & lab methods)
A healthy apple tree starts with the right soil conditions. Testing your soil reveals hidden problems like pH imbalances or nutrient deficiencies that could be stunting growth or reducing fruit quality.
Whether you're planting a new tree or troubleshooting an underperforming one, a soil test gives you the data to make precise amendments for bigger, sweeter harvests.
Apple trees prefer a slightly acidic to neutral soil (pH 6.0–7.0) with balanced nitrogen, phosphorus, and potassium. Without testing, you might be over- or under-fertilizing, wasting money or harming your tree.
The good news? You don’t need a degree in horticulture—just a simple soil test kit or lab analysis to get started.
Here’s how to test your soil at home or through a professional lab, plus when to test for the most accurate results.
- DIY kits (e.g., MySoil, Luster Leaf): Test pH + basic nutrients for ~$20
- Lab tests (e.g., University extension services): Test pH, NPK, micronutrients for ~$25–$50
- Use a clean trowel or auger to dig 4–6 inches deep
- Take 5–10 samples from different spots under the tree’s drip line
- Mix samples in a clean bucket to create one composite sample
- For pH tests, mix soil with distilled water (1:1 ratio)
- For nutrient tests, use provided reagents and color charts
- Compare results to the apple tree ideal range (pH 6.0–7.0)
- Mail samples to a local extension office or private lab
- Request a full analysis (pH, NPK, micronutrients like magnesium or zinc)
- Receive detailed amendment recommendations in 1–2 weeks
- Low pH (<6.0)? Add lime to raise pH
- High pH (>7.0)? Add sulfur or peat moss to lower pH
- Low nutrients? Apply compost or organic fertilizer (e.g., 10-10-10)
The best time to test your soil is in early spring (before bud break) or fall (after harvest). Avoid testing after heavy rain or recent fertilization, as these can skew results. For newly planted trees, test soil 3–6 months after planting to establish a baseline.
Professional labs offer more precise data, including micronutrient levels like boron or manganese, which are critical for apple tree fruit set and quality. If your DIY kit shows unusual deficiencies, a lab test can pinpoint exactly what your tree needs—saving you time and money on guesswork.
Remember: Soil testing isn’t a one-time task. Re-test every 2–3 years or if you notice yellowing leaves, stunted growth, or poor fruit development. Small adjustments now can lead to healthier trees and bigger harvests in just one growing season.
🍎
Ideal soil pH for apple trees & how to adjust it quickly
Apple trees are finicky about their soil pH, and getting it right is the difference between a bountiful harvest and a disappointing one. The ideal pH range for apple trees is between 6.0 and 7.0, slightly acidic to neutral.
This range ensures your tree can absorb essential nutrients like nitrogen, phosphorus, and potassium efficiently, leading to healthier roots, stronger branches, and sweeter fruit.
If your soil is too acidic (below 6.0), your apple tree may struggle with nutrient deficiencies like magnesium or calcium, leading to yellowing leaves or poor fruit development.
On the other hand, alkaline soil (above 7.0) can lock out vital nutrients like iron and zinc, causing stunted growth or leaf discoloration. Testing your soil before planting—or every few years—can save you from these common pitfalls.
Adjusting your soil’s pH is easier than you think. For acidic soil, spread pelletized lime evenly around the tree’s root zone in early spring or fall. Water it in well to activate the amendment.
If your soil is too alkaline, use elemental sulfur—it’s slow-acting but effective. Work it into the top 6 inches of soil and water thoroughly. Both amendments take time to work, so plan ahead!
Organic matter like compost or well-rotted manure can also help stabilize pH over time by improving soil structure and microbial activity. Aim for a 2–3 inch layer around the tree’s drip line (the area where branches extend) and lightly till it into the topsoil.
This not only balances pH but also boosts nutrient availability for your apple tree’s long-term health.
Remember, pH adjustments aren’t instant. Re-test your soil 3–6 months after amending to check progress. If your tree is newly planted, focus on building healthy soil first—amendments will have more time to take effect before the tree needs them.
Patience and consistency are key to unlocking that perfect apple harvest you’re dreaming of!
🌱