
Fertilization
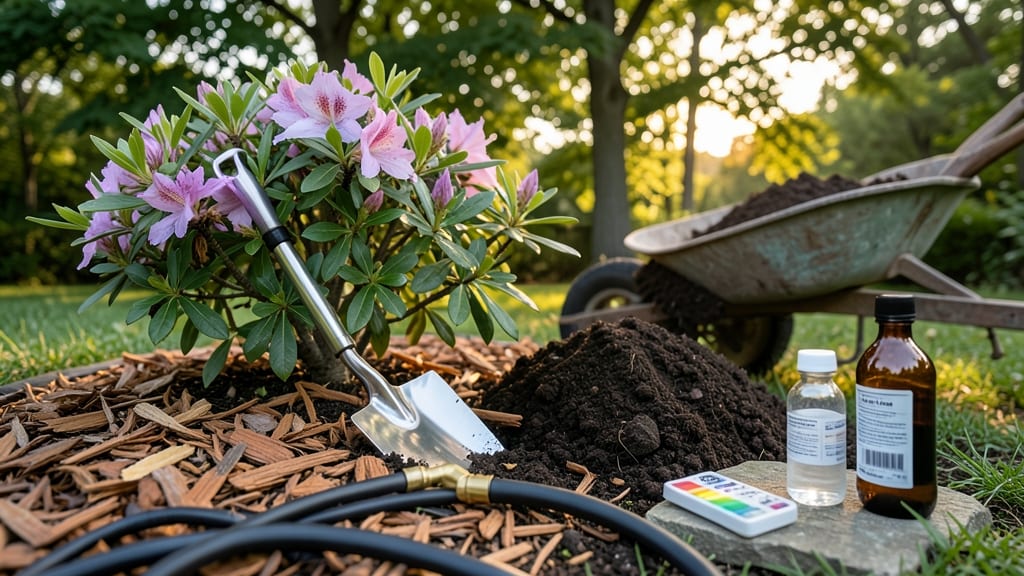
Preparing soil for azaleas means creating a perfectly acidic loam—the kind that makes those vibrant blooms explode in spring. 🌸 I learned the hard way that azaleas won’t thrive in regular garden soil; they demand a pH between 4.5 and 6.0, with organic matter that mimics their natural forest-floor habitat.
Start with a soil test to confirm acidity, then amend with peat moss or pine bark (both lower pH naturally) mixed into the top 12 inches. Avoid lime or composted manure—these raise pH and kill your azaleas’ roots.
Instead, use sulfur or aluminum sulfate for adjustment, and keep organic matter like leaf mold or composted pine needles on top. The payoff? Lush, glossy foliage and clusters of blooms that last weeks longer than neighbors’ plants.
Azaleas reward patience—once the soil’s right, they’ll grow strong for decades with minimal upkeep. For container azaleas, use a 50-50 mix of peat moss and pine bark with a slow-release acid fertilizer. Drainage is key—never let them sit in soggy soil, or root rot will ruin everything.
Here’s how to get it right the first time.
📚 In This Guide
- What you need
- Instructions
- Tips and common mistakes
- Wrapping up and next steps
What you need
- ● Garden soil (2 parts) – Use native soil or a mix of topsoil and compost.
- ● Peat moss or coconut coir (1 part) – Enhances acidity and moisture retention.
- ● Pine bark fines or fine pine chips (1 part) – Improves drainage and mimics natural forest floor conditions.
- ● Sulfur or aluminum sulfate (1–2 tbsp per 5-gallon bucket of mix) – Adjusts pH to 4.5–6.0 (azalea’s sweet spot!).
- ○ Slow-release acid-loving plant fertilizer (e.g., 10-10-10 or 8-3-9) – Optional but recommended for a nutrient boost.
- ● Garden gloves – Protects your hands from soil and sharp tools.
- ● Garden trowel or spade – For digging and mixing.
- ● pH testing kit – Ensures your soil is in the ideal acidic range.
- ● Watering can or hose – For hydrating the soil after mixing.
- ● Soil sieve or screen – Removes rocks and debris for a smoother mix.
- ● Wheelbarrow – Makes transporting soil easier.
- ● Compost or worm castings (small amount) – Adds organic matter for long-term health.
- ● Mulch (pine straw or pine bark) – Retains moisture and keeps roots cool.
How to prepare soil for azaleas: acidic loam secrets for vibrant blooms
Azaleas thrive when the soil mirrors their natural woodland home—acidic, well-draining, and rich in organic matter.
🌱 Step 1: Test and Adjust Soil pH to Acidic Levels
Azaleas demand a soil pH between 4.5 and 6.0—any higher, and they refuse to bloom. Grab a soil test kit from your garden center and follow the instructions to measure your current pH. If your soil tests above 6.0, you’ll need to lower it. I like to mix in sulfur (available in powder or pellets) at a rate of 1 pound per 100 square feet and water it in deeply. Wait 2-3 months before planting—this gives the sulfur time to acidify the soil gradually.
Here's the thing—don't rush this step. Over-acidifying the soil can harm other plants in your garden. If you're unsure, test again after 6 weeks to check progress. You'll see the change when the soil test confirms the pH is within that 4.5-6.0 sweet spot. Azaleas will reward you with vibrant blooms once the pH is just right.
🌿 Step 2: Amend Soil with Organic Matter for Structure and Nutrition
Azaleas prefer a loamy, well-draining soil that holds moisture without becoming soggy. Start by removing any grass or weeds from the planting area, then loosen the top 12 inches of soil with a garden fork. This breaks up compacted layers that can suffocate roots. Next, mix in 3-4 inches of composted pine bark—this is key because it mimics the acidic, airy forest floor azaleas love.
For an extra boost, blend in 1 inch of peat moss or sphagnum peat to maintain acidity and improve moisture retention. Avoid fresh manure—it can raise the pH and burn roots. Instead, use well-aged compost or a slow-release organic fertilizer designed for acid-loving plants. You'll know you've done it right when the amended soil feels light, crumbly, and holds moisture like a damp sponge.
☀️ Step 3: Create a Well-Draining Planting Hole with Proper Depth
Dig a hole twice as wide as the azalea’s root ball but only as deep as the container it’s in. This prevents burying the trunk too deeply, which can cause rot. If your azalea is in a gallon container, the hole should be about 12 inches wide and 6 inches deep. Gently remove the plant from its container and loosen any circling roots with your fingers—this encourages outward growth.
Place the azalea in the hole so the top of the root ball sits 1 inch above the surrounding soil level. This slight elevation prevents water from pooling around the trunk. Fill the hole with the amended soil, tamping it lightly as you go to eliminate air pockets. Water the plant deeply until water drains out the bottom of the hole. You’ll see the soil settle slightly—this is normal, and it ensures good root-to-soil contact.
💧 Step 4: Mulch to Retain Moisture and Acidify Over Time
Spread a 2-3 inch layer of pine bark mulch over the soil surface, keeping it 3-4 inches away from the trunk to prevent rot. Pine bark mulch slowly breaks down, adding organic matter and keeping the soil acidic. Avoid wood chips or straw—they can raise the pH over time. Water the mulch lightly to help it settle and make contact with the soil.
This mulch layer also regulates soil temperature and reduces water evaporation, so you’ll spend less time watering. Replenish the mulch annually in late winter or early spring to maintain its benefits. Over time, you’ll notice fewer weeds, more consistent moisture, and healthier azalea growth—proof that your soil prep is working.
⏰ Step 5: Monitor and Maintain Soil Conditions Year-Round
Azaleas are light feeders, but they appreciate monthly applications of an acid-forming fertilizer in spring and summer. Look for a fertilizer labeled for azaleas, rhododendrons, or acid-loving plants—it’ll have the right nitrogen-phosphorus-potassium ratio (like 10-10-10 or 8-3-9). Follow the package instructions for application rates, but halve the dose if your soil is already rich in organic matter.
Keep an eye on the soil’s moisture level—azaleas like consistently moist but never soggy conditions. If the soil feels dry 1 inch below the surface, it’s time to water. Overwatering is a common mistake, so always check before adding more. You’ll know your soil prep is successful when your azaleas produce vibrant blooms year after year and their leaves stay a healthy, glossy green.
Tips & tricks for perfect azalea soil prep
Creating the ideal environment for azaleas starts with understanding their natural habitat—here's how to get it right the first time.
Soil Test Timing: If you're working with existing garden soil, test it twice—once before adding sulfur and again after the 6-week waiting period. This gives you a clear picture of how much the pH has changed. I've seen cases where homeowners added too much sulfur because they didn't retest, which actually harmed their other plants. The 4.5-6.0 range is your target, but getting too low can be just as problematic as being too high.
Organic Matter Layering: When mixing in the 3-4 inches of composted pine bark and 1 inch of peat moss in Step 2, work it into the loosened soil in horizontal layers rather than dumping it all at once. This creates better air pockets throughout the soil profile. Think of it like making lasagna—each layer builds on the last to create a perfect structure. The pine bark should be coarse enough to improve drainage while still breaking down over time to add organic matter.
Planting Hole Precision: The 1 inch elevation of the root ball above finished soil level in Step 3 is more important than you might think. This small elevation prevents water from pooling at the base of the trunk, which can lead to rot. I've seen gardeners bury the root ball too deeply, thinking it would provide more stability, but this actually suffocates the plant. Use a small stake or level to ensure you maintain that 1 inch gap—it makes all the difference in long-term plant health.
Mulch Application Strategy: When applying the 2-3 inch layer of pine bark mulch in Step 4, create a slight depression around the base of the plant to help direct water toward the roots. This simple technique prevents water from running off the sides and ensures your azalea gets the moisture it needs. Also, avoid piling mulch against the trunk—this can create a moist environment that encourages rot. The 3-4 inch clearance from the trunk is crucial for maintaining good air circulation.
Pro Tips for Prepare Soil For Azaleas
- Creating the ideal environment for azaleas starts with understanding their natural habitat—here's how to get it right...
- Soil Test Timing: If you're working with existing garden soil, test it twice—once before adding sulfur and again afte...
- Organic Matter Layering: When mixing in the 3-4 inches of composted pine bark and 1 inch of peat moss in Step 2, work...
Frequently asked questions
Got questions about prepping the perfect soil for azaleas? You’re not alone! Here are answers to the most common concerns—so you can get those vibrant blooms without the guesswork.
What’s the ideal pH range for azalea soil?
Azaleas thrive in highly acidic soil with a pH between 4.5 and 6.0. Test your soil with a kit—if it’s above 6.0, amend it with sulfur or peat moss to lower the pH gradually. Avoid lime (it raises pH and harms azaleas!).
When is the best time to prepare soil for azaleas?
Prepare the soil 6–8 weeks before planting (early spring or fall). This gives microbes time to break down amendments like compost or pine bark. If planting now, focus on loosening soil and adding organic matter—just avoid heavy fertilization until roots establish.
Can I grow azaleas in regular garden soil?
Regular garden soil is often too alkaline or compacted for azaleas. To adapt it, mix in 50% acidic amendments (like pine fines, sphagnum peat, or composted leaves) and 30% perlite/sand for drainage. Mulch with pine needles to maintain acidity long-term.
What if my azalea leaves turn yellow after planting?
Yellowing leaves often signal chlorosis (iron deficiency) from poor soil pH or drainage. Check for:
- Soil pH (aim for <5.5)
- Root rot (waterlogged soil)
- Over-fertilizing (burns roots)
Are there low-maintenance soil alternatives for azaleas?
Yes! For minimal upkeep, use:
- Ready-made azalea/camellia mix (blend of peat, pine bark, and sand)
- Container gardening with a 60/30/10 mix of peat/pine bark/sand
- Mulch heavily (3–4 inches of pine straw) to preserve moisture and acidity.
Wrapping up and next steps
Preparing the perfect acidic loam soil for your azaleas is the secret sauce to those showstopping blooms you’ve been dreaming of! 🌸 With the right mix of organic matter, proper pH testing, and a little TLC, you’re setting your plants up for long-term success.
Remember, patience pays off—healthy soil today means stunning flowers tomorrow.
Now that you’re armed with the know-how, roll up your sleeves and get testing! Grab your pH kit, dig in, and give those azaleas the ideal foundation they deserve. Ready to transform your garden? Start today—your azaleas will thank you with vibrant, bountiful blooms! 🌿✨