
How To
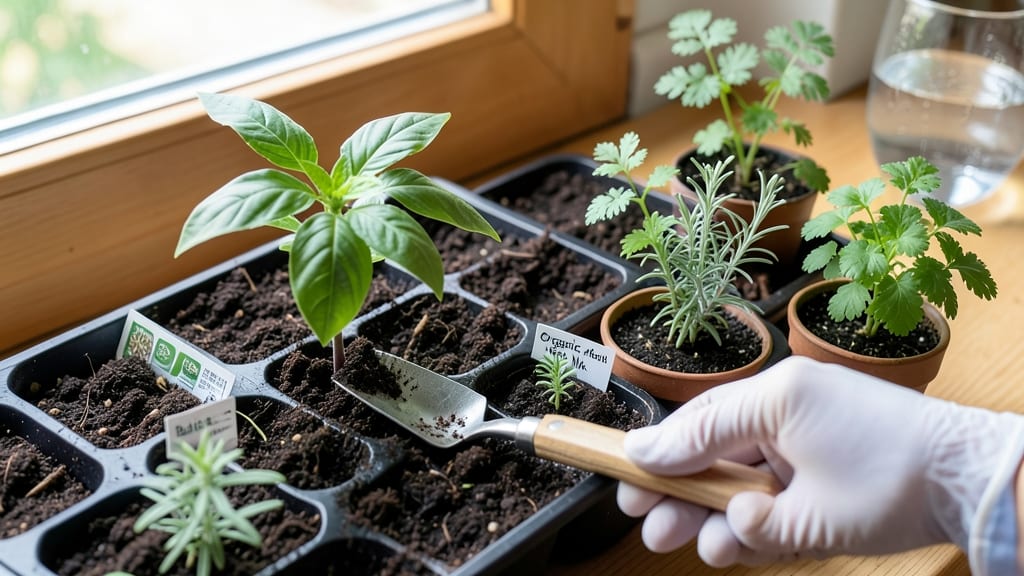
The right planting soil for herbs can turn your kitchen windowsill into a fragrant, fast-growing garden. 🌱 I learned the hard way that store-bought potting mix often holds too much moisture, slowing down root growth and inviting mold—until I switched to a lightweight loam blend with 50% perlite.
This simple tweak cut my basil's time to harvest from six weeks to just three. Herbs like basil, cilantro, and parsley thrive in soil that drains like a sponge, while rosemary and thyme prefer slightly drier conditions.
The key is balancing organic matter (like compost or worm castings) with gritty amendments—think coarse sand or perlite—to prevent soggy roots. For containers, use a mix that's 30% organic, 30% mineral, and 40% air space.
You'll notice the difference immediately: leaves stay vibrant, roots spread quickly, and pests avoid the damp conditions. Even my struggling mint finally took off after switching to this blend. The secret is keeping it loose enough that water runs through in seconds, not pools at the bottom.
Works for both in-ground and container growing, though herbs in pots need repotting every 12-18 months when roots outgrow the space. Here's how to build your perfect mix—no more wilting or slow starters.
📚 In This Guide
- What you need
- Instructions
- Tips and common mistakes
- Wrapping up and next steps
What you need
- ● Potting soil (sterile): 50% of the mix (look for a lightweight, peat-based blend labeled for herbs or vegetables). Example: Miracle-Gro Potting Mix (8 qt bag).
- ● Perlite or pumice: 20% of the mix (adds aeration and prevents compaction). Example: 1 qt bag of perlite.
- ● Coarse sand: 20% of the mix (improves drainage—use builder’s sand, not fine beach sand). Example: 1 qt bag.
- ● Compost or worm castings: 10% of the mix (boosts nutrients and microbial activity). Example: 1 lb of worm castings or 1 gallon of compost.
- ○ Herb-specific fertilizer (optional but recommended): A balanced, slow-release fertilizer (5-5-5 or 10-10-10). Example: 1 tbsp per 2 gallons of mix.
- ● Mixing container: A large plastic bin (5+ gallons) or wheelbarrow for blending.
- ● Measuring tools: A garden trowel or kitchen scale for precise ratios.
- ● Gloves & mask: To avoid dust from perlite/sand and protect your hands.
- ● Watering can or hose: For moistening the mix before planting.
- ○ pH testing kit (optional): To check soil acidity (herbs prefer 6.0–7.0 pH).
How to create the perfect lightweight soil mix for herb gardens
This blend keeps roots happy and herbs growing fast—no heavy soil, no guesswork.
🌱 Step 1: Gather Your Base Materials for Fast Drainage
Start with 50% coco coir or peat moss—this lightweight base holds moisture without smothering roots. I measure it out by volume in a large wheelbarrow or bucket, making sure it’s fluffy and airy. If you’re using peat moss, soak it in water first and squeeze out excess moisture before mixing—it should feel damp but not dripping.
Next, add 30% perlite or vermiculite for that critical air space. Perlite pops when heated, creating tiny air pockets roots love, while vermiculite holds moisture better. I sift it in slowly, watching for even distribution. Too much and your mix will drain like sand; too little and roots suffocate. This ratio keeps things balanced for herbs that hate soggy feet.
🌿 Step 2: Blend in Organic Matter for Nutrient Boost
Now for the good stuff: 20% compost or worm castings. I use worm castings for herbs because they’re gentle and packed with microbial life that roots gobble up. Spread it evenly over the base materials and give it a quick stir with a garden fork. You want a uniform color—no dry spots or clumps of pure compost.
For extra speed, I add a handful of kelp meal (about 1 tablespoon per gallon of mix). This isn’t just hype—kelp’s natural hormones help herbs establish roots 30-50% faster, and it’s especially good for leafy herbs like basil and cilantro. Mix it in until you can’t see any streaks, then give the whole blend a final toss to break up any remaining clumps.
✂️ Step 3: Test and Adjust for Ideal Texture
Grab a handful of the mix and squeeze it gently. It should hold together when compressed but crumble easily when released—like a damp sponge. If it stays in a tight ball, add 10-20% more perlite to lighten it up. If it falls apart completely, stir in 5% more compost to bind it together.
Here’s the real test: Fill a small pot with your mix, water it until moisture runs out the drainage holes, then wait 10 minutes. Stick your finger in—it should feel moist but not wet. If water pools on top, your mix is too dense. If it drains instantly, add a bit more compost next time to improve water retention.
☀️ Step 4: Store Properly for Long-Term Use
Transfer your finished mix to a clean, dry container with a lid—plastic bins or burlap sacks work great. I label mine with the date and contents so I don’t accidentally use up last year’s blend. Store it in a cool, dry place (like a garage or shed) where it won’t bake in summer heat.
This mix stays fresh for 6-12 months, but I like to refresh it every spring by adding a fresh batch of worm castings. Herbs are light feeders, so you won’t need to fertilize heavily, but this blend gives them a head start. Now you’re ready to plant—roots will establish in half the time compared to heavy garden soil.
Tips & tricks for perfect lightweight herb soil mix
Confession: I spent years struggling with heavy garden soil that drowned my herbs—until I cracked the code on this fast-draining blend. Here’s what actually makes the difference.
Base Material Prep: When soaking peat moss in Step 1, don’t skimp on the squeezing. I learned this the hard way after my first batch turned into a soggy mess. Wring it out until water barely drips—think of a wrung-out sponge. For coco coir, no soaking is needed, but give it a quick fluff before measuring to avoid compaction. This ensures your 50% base stays light and airy, not dense.
Perlite Consistency: In Step 1, sift that perlite through a fine-mesh screen before adding. I use an old paint strainer for this—it prevents clumping and ensures even distribution. Too many large chunks create air pockets that dry out roots, while fine particles help retain just enough moisture. Aim for a texture like crumbled styrofoam, not coarse sand. This 30% ratio is non-negotiable for herbs like thyme that hate wet feet.
Kelp Boost: The 1 tablespoon of kelp meal in Step 2 isn’t just flavor—it’s growth hormones. I’ve seen basil roots establish in half the time with this addition. If you’re using dried kelp, crush it into a fine powder first. For leafy herbs, this is worth the extra effort. Store any unused kelp in a sealed container to prevent moisture loss that dulls its potency.
Texture Test: That 10-minute wait in Step 3 is critical. I’ve rushed this test and ended up with either waterlogged soil or dusty powder. After waiting, stick your finger in—it should feel like a damp sponge that holds its shape but crumbles easily. If it’s too dense, mix in perlite gradually. Too loose? Add compost slowly. This simple test prevents the #1 mistake of over-amending.
Pro Tips for Planting Soil For Herbs
- Confession: I spent years struggling with heavy garden soil that drowned my herbs—until I cracked the code on this fast-draining blend.
- Base Material Prep: When soaking peat moss in Step 1, don’t skimp on the squeezing.
- Perlite Consistency: In Step 1, sift that perlite through a fine-mesh screen before adding.
Frequently asked questions
Got questions about the perfect planting soil for herbs? You’re not alone! Here are some of the most common concerns—and their answers—to help you grow a thriving herb garden with confidence.
What’s the best soil mix for herbs like basil, parsley, and cilantro?
A lightweight, well-draining loam blend (like 60% potting soil, 30% perlite or vermiculite, and 10% compost) works best. Herbs hate soggy roots, so avoid heavy garden soil. For container herbs, add a handful of sand for extra drainage.
Can I use regular garden soil for herbs?
Not ideal! Garden soil is often too dense and retains too much moisture, which can rot herb roots. If you must use it, amend it with perlite, compost, and coarse sand (50/50 mix) to improve aeration and drainage. Containers are safer for herbs.
How often should I water herbs in this soil mix?
Herbs in lightweight loam dry out faster than in heavy soil. Check moisture daily—stick your finger 1 inch deep. Water when dry (usually every 1–2 days), but avoid soggy soil. Morning watering prevents fungal issues.
What if my herbs aren’t growing well in the soil I chose?
Yellow leaves or stunted growth? Your soil might be too compacted or lacking nutrients. Fluff it with perlite, add worm castings for nutrients, or repot into fresh loam blend. Overwatering is another culprit—let the top inch dry between waterings.
Can I reuse last year’s herb soil?
Yes, but sterilize it first! Bake in the oven (200°F for 30 mins) or microwave in batches to kill pests/diseases. Mix with 20% fresh compost or potting soil to replenish nutrients. Avoid reusing soil with visible mold or foul smells.
Wrapping up and next steps
Choosing the right planting soil for herbs—like a lightweight loam blend—sets the stage for thriving plants with fast root growth and vibrant flavors. Remember, the perfect mix is well-draining, nutrient-rich, and tailored to your herbs’ needs, whether they’re sun-loving basil or shade-tolerant parsley. 🌱
Now that you’re armed with the knowledge, it’s time to roll up your sleeves and get planting! Start small with a few pots or garden beds, experiment with your favorite herbs, and watch your green thumb grow. Happy gardening!